How To Build Your Own Retro Gaming Console With A Raspberry Pi
We may receive a commission on purchases made from links.
Far-flung from its origins as an unpopular hobby, it seems like gaming refuses to slow down any time soon, and according to Statista, there were over 3.24 billion gamers worldwide in 2021 alone. Retro gaming is considered a preferable alternative to contemporary gaming, and its purest fans might prefer playing "Super Mario Bros" on the Nintendo Entertainment System (NES) as opposed to playing "League of Legends" on a modern gaming PC. However, tastes tend to vary across populations, and there's likely plenty of crossover between retro gamers and contemporary gamers, especially as the emulation community grows in tandem with routine boosts to PC hardware power over the course of time.
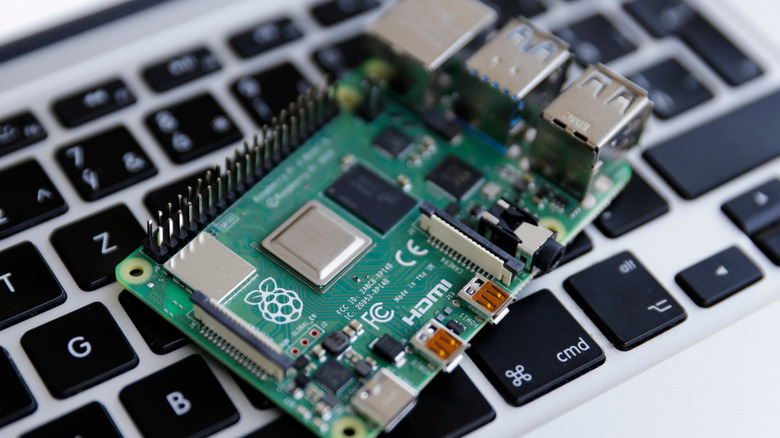
Someone might emulate a classic game using newer PC hardware or even something like this MiSTer FPGA device if they're unable to find working OG gaming consoles like the aforementioned NES, PlayStation, or Sega Genesis. Alternatively, one might rely on the emulation power inherent within contemporary consoles like the Nintendo Switch or PlayStation 5, which are compatible with optional services like Nintendo Switch Online or PlayStation Plus Extra, both of which feature cleaned-up versions of many timeless classics. But it's certainly worth noting that there's an even cheaper and potentially better option that often goes overlooked: the Raspberry Pi, a device that is credit card thin and drastically less expensive than the other devices mentioned earlier — and yes, you can even play "Minecraft" on it.
The components you need to build a retro gaming console
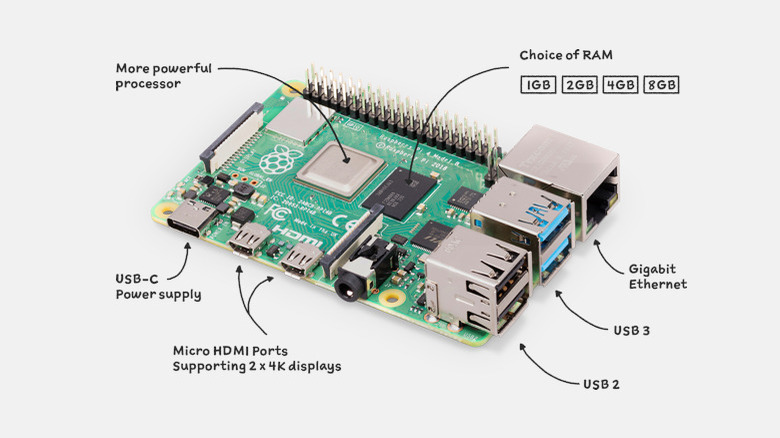
The Raspberry Pi 4 starts at an MSRP of $35. Yes, you read that correctly. For the same amount of money you might spend on dinner or a trip to the movies, you can purchase a powerful, portable computer that can double as a retro gaming console with some additional upgrades. The entire process of getting your Pi ready for prime time will cost a bit more, give or take around $100 to $200, depending on which parts you choose. Note that you don't need to go too expensive here, though — $15 to $20 parts are totally fine. Regardless, that's still way less expensive than going out and buying a Nintendo Switch, which itself is far less expensive than assembling an entire gaming PC or FPGA device.
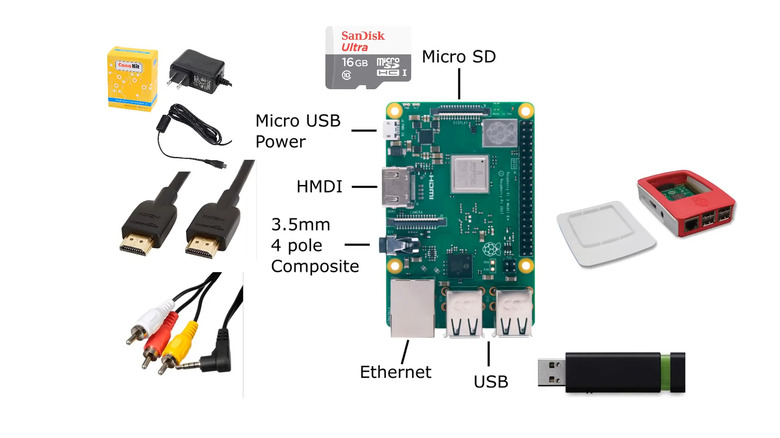
Here are the things you'll want to buy in order to ensure you're fully equipped (via RetroPie):
- A Raspberry Pi 4 case, which can be found on Amazon.
- At least a 2.5A (or higher) power supply, if not included with the case.
- An HDMI cable to connect the Pi to your display.
- A micro SD card that's big enough to store your emulation software and games.
- A USB keyboard.
- A USB or Bluetooth controller.
How to load the RetroPie software onto a micro SD card
Now that your Raspberry Pi retro gaming console is purchased and fully assembled, it's time to begin loading the necessary software and games onto your system. Note that downloading emulated games or ROMs onto your system that were created by another user is stepping into shaky legal territory. That aside, you need to get RetroPie loaded up and running on your device. There is quite an astounding number of gaming systems that can be emulated with this software, including but not limited to the Sega Dreamcast, PlayStation 1 and 2, Nintendo 64, Nintendo Wii, Apple II, and many others.
You'll need to download the software onto the micro SD card using another system with internet access and a micro SD card reader. If you're using a Windows PC or a Mac, you can easily download and save the most recent RetroPie disk image to your desktop and then write it to your SD card from there. If it's compressed as a .gz file, you can generally fix that by running 7Zip or WinRAR, but what you want is the .img file. From here, run any disk imaging software such as Win32 Disk Imager or Etcher to write the .img to the SD card. Make sure you don't write any disk images to any drives other than your designated SD card, since you could override them by accident. You can also use Raspberry Pi Imager.
How to set up the RetroPie software on a Raspberry Pi
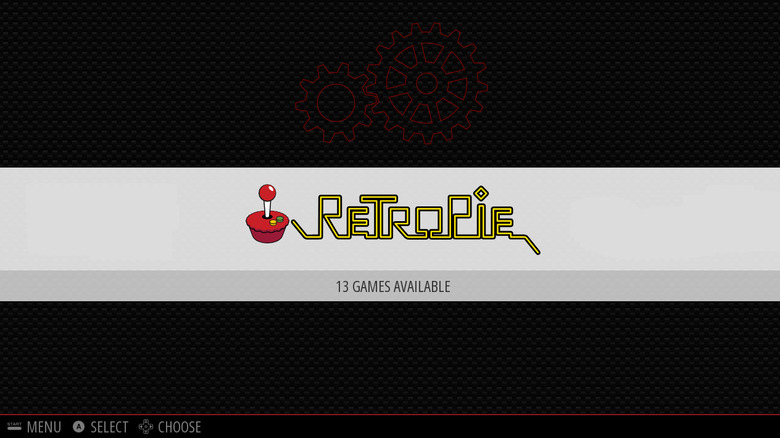
Once your micro SD card is mounted with RetroPie, you can plug it into your fully assembled Raspberry Pi 4 and begin the setup process in the software menu that appears. Make sure your controller is nearby, as you'll need it during the first boot process. If you're using a USB controller, make sure it's connected physically, then follow the instructions on-screen.
If you're using a Bluetooth controller, tap F4 on your USB keyboard to exit back into the Linux command prompt screen, then type and execute the command "sudo ~/RetroPie-S etup/retropie-setup.sh" that loads you into a backend RetroPie menu. Navigate to the Bluetooth option and then open it to begin searching for a controller. Set your Bluetooth controller to sync mode, then pair it in the menu. Return to the Linux command prompt and type the command "sudo shutdown -r now". Upon loading back into RetroPie, you should be able to use your Bluetooth controller by simply turning it on and following the on-screen menu. Once everything is complete, you'll end up on another menu with the option RASPI-CONFIG, which you should now select.
Upon tapping that option, you'll be taken to the main configuration menu for RetroPie, which includes all sorts of different settings. Go ahead and configure whichever settings you need. It's also a good idea to navigate to Advanced Settings and disable Overscan if you're using an HDTV. From here, you should be able to load your ROMs (stored on your SD card) and play them from the menu that appears when you boot up RetroPie. Check out the RetroPie documentation for troubleshooting any issues you may encounter, and happy gaming!