The Easy Way To Set Up Microsoft Outlook On Your Android Phone
Having email accessible on your mobile phone is highly essential for anybody who uses one as their main point of contact. It is especially important for working individuals who need their work email handy, even on the go. If you happen to use Microsoft Outlook either for your personal or professional email needs, you can easily set it up on any mobile device, including Android phones.
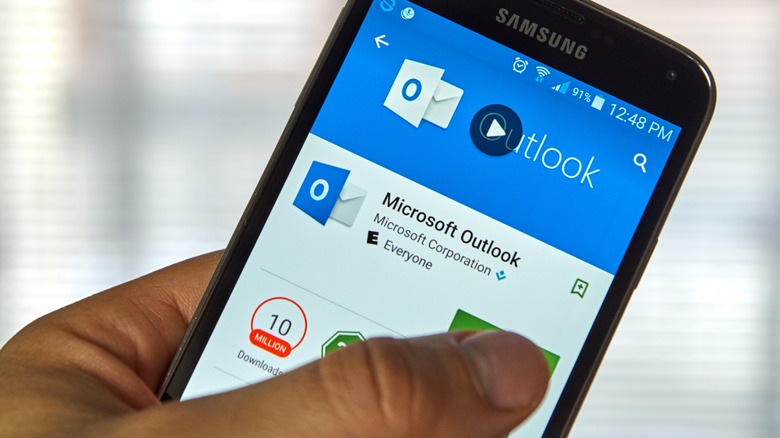
Microsoft Outlook is a versatile platform that not only lets you manage various email accounts — including those hosted by Gmail, and Yahoo Mail — but also lets you access files, contacts, and calendar events, all from one app. If you happen to be an email address juggler and have separate ones for different purposes, you can manage them all through Outlook and ensure you do not miss any time-sensitive messages. The Microsoft Outlook mobile app highly rated on Google Play and has over 500 million downloads, making it a tried and true option for managing multiple emails from an Android mobile device.
What you need to know before installing Outlook on your Android phone
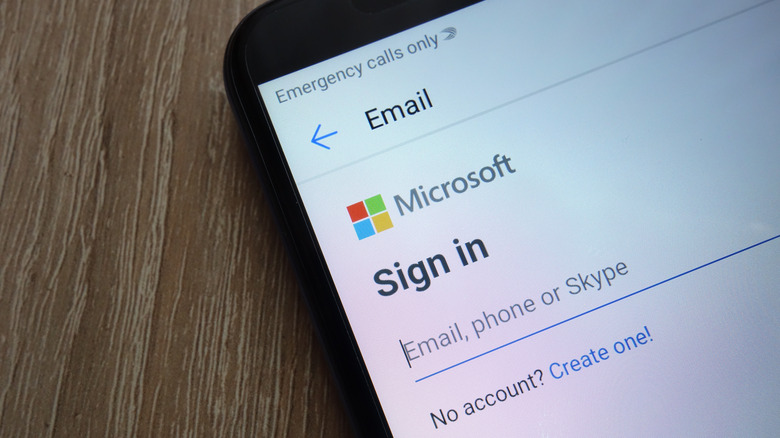
The Outlook Android mobile app should be pretty simple to set up if you are planning to add and manage a Gmail or Yahoo Mail account. However, if your intention is to include a work or school email address — especially one hosted by Microsoft 365 for Business or Microsoft Exchange — you may need to reach out to your organization's IT department for assistance as they may have certain limitations or requirements in place (per Microsoft). For instance, you may only be allowed to access your work email on a mobile device provided by your company, or you may be required to install additional mobile apps to ensure privacy and security. In any case, if you ever need additional tech support, you can reach out to Microsoft, provided that you already have a Microsoft-associated account to log into.
Once you're ready to set up Outlook, go ahead and download the app from the Google Play Store. The steps of setting up an email address within the Outlook app will depend on the type of email account you have.
How to add a Gmail, Yahoo Mail, or AOL Mail account to Outlook on your Android phone
Once you have the Outlook app installed on your Android device, follow these directions to add your Gmail, Yahoo, or AOL email account for the first time:
- Tap Add Account.
- Hit Add Google Account to set up a Gmail email address. Otherwise, type in your email in the "Enter your email" text field.
- If you hit the Google option, it may detect the Gmail email associated with your Android mobile device. In the "Choose an account" screen, pick the Gmail email you'd like to add, then hit Allow on the next page.
After adding one email account, you may see an additional "Add another account" page. If you'd like to include more email addresses, tap Add and follow the onscreen instructions. Otherwise, hit Maybe Later. If you did the latter, you can always add another email account by tapping on the account icon in the top-left corner of the screen and hitting the "Add an account" button, indicated by an envelope icon with a plus symbol. You also have the option to create a brand-new email address — which will have either an outlook.com or hotmail.com domain — and add it as well.
How to set up an IMAP or POP email address on Android's Outlook app
When you try to add a new account to the Outlook app and enter a non-Google or Yahoo email address that you own, you may be asked whether you'd like to set it up as an IMAP or POP account. According to Microsoft, IMAP lets you access your email anytime and anywhere, regardless of device. It doesn't actually download the email message but lets you view it directly from the email service. POP, on the other hand, downloads all your incoming messages from the email service and deletes it from the source permanently. For the purposes of accessing your email on an Android phone (as well as on your other gadgets), using the IMAP email retrieval method is preferred because you'll have more flexibility. Note, however, that only emails will be synced this way; calendar events or contacts will be left behind. Here's how:
- Navigate to the Add account page, type in your email address, and hit Continue.
- Choose the IMAP option.
- Type in your password, your desired display name, and a description of the email address.
- Switch the Advanced Settings toggle to the on position and enter your password and server settings.
- To finalize the process, tap the checkmark icon in the top-right corner of the screen.
The username and password fields for the incoming and outgoing server sections should be your full email address and email password respectively, and, depending on your email provider, most text fields should automatically populate with the right settings. If you're running into issues, reach out to your email provider or administrator for guidance. You can also get in-app help from Outlook by tapping the icon in the top-left corner of the screen, hitting the question mark icon from the menu panel, and selecting "Contact Outlook mobile support" under the Help section.