Settings On Your Android That Are Ruining Your Experience
One of the main benefits users get by using Android over other mobile operating systems is the ability to customize one's experience. But with great customization comes a lot of opportunities for users to make their Android experience worse without realizing it. Android is closer to a traditional computer operating system than it is to Apple's walled-garden approach with iOS, and that means it needs a certain level of maintenance to really take advantage of all it has to offer. In many ways, Android is a diamond in the rough by default, and there are plenty of settings buried inside of it that you can adjust to polish up your experience.
Many users may not dive deep into their phone's settings when first setting up a device, but it's the first thing any Android power user will do. From improving your phone's lagging speed and clumsy navigation to eking out additional battery life on each charge, and even ensuring your privacy from prying corporate eyes, these are the settings on your Android that may currently be ruining your experience.
You haven't enabled high refresh display
If your Android phone was made in the last several years, it most likely comes equipped with a high refresh rate display, either 90Hz or 120Hz depending on the model, that will make your experience buttery smooth by allowing the screen to refresh up to 120 times per second. The newest flagship phones now often include low-temperature polycrystalline silicon (LTPO) technology in their displays, enabling the device to slow down the refresh rate (also known as variable refresh rate) for more static content, which means you won't waste battery with extra screen refreshes. However, the setting may not be turned on by default, leaving you stuck at a measly 60Hz.
The process to enable a high refresh rate varies by manufacturer. On Pixels and other near-stock Android devices, head to your phone's Settings app, then find the Display category and tap on it. From there, scroll down to the Other display controls section and locate Smooth Display. Toggle on the switch next to it to enable that buttery smooth high-refresh goodness. Meanwhile, on Samsung's proprietary skin, dubbed One UI, things are slightly different. You'll still want to open Display settings, where you'll find the option for Motion smoothness. In that menu, you'll see options for Standard, which will lock the display in at 60Hz, and Adaptive, which enables up to 120Hz refresh rates.
Your animation speeds are slow
Visual operating systems' animations are part of what makes or breaks the visual side of a user experience. Android phones, by default, come with a stock animation speed that isn't exactly zippy, but you can make your phone feel much faster by speeding them up. As explained by Android Police, animations are controlled by three settings buried deep in Android's developer options: window animation scale sets the speed for menus and pop-ups, transition animation scale controls the speed for transitioning between screens, and animator duration scale adjusts the speed for all other animations. All three are set to a scale of 1x by default, but if you speed them up to 0.5x, you'll notice an immediate performance improvement on most devices, since you'll spend less time watching animations.
Animation speed settings are buried in your developer options, so before you can mess around with them, enable your developer options by tapping rapidly on your Android version in phone information settings seven times in a row. You'll then be prompted to enter your passcode. Once developer options are enabled, head to System settings, then navigate over to Developer options. Scroll until you find Window Animation Scale, Transition animation scale, and Animator duration scale. Set each to .5x. If for any reason you don't like your new animation speeds, you can change them back to default just as easily.
You haven't enabled gesture navigation
In recent versions of Android, Google has included the option to navigate your phone with swipe gestures instead of the traditional three-button layout that sits at the bottom of your display (via Google). Not only will turning on gesture navigation give you more screen real estate, but it will also give your thumbs a rest since you won't have to reach down for the back button.
To enable gestures on most Android devices, head to your settings and find the gestures section of your system settings. Choose system navigation, then select gesture navigation. On Samsung's custom One UI, the process is a bit different. You'll want to find display settings, then tap on the Navigation bar. Under Navigation type, choose Swipe gestures.
Once enabled, you'll now swipe up from the bar at the bottom of your display to go home, or swipe halfway up and hold your finger in place to access your app switcher. The biggest change is backward navigation. To go back, you'll swipe inward anywhere from the left or right side of the screen. The sensitivity of the back gesture can also be adjusted in Navigation type settings.
Your adaptive battery settings are not aggressive enough
On the flip side of battery optimization, it's important to make sure you're not letting apps hog your phone's resources. When an app decides to stay active in the background, it can chew through your juice by taking up memory, pinging your location, or using your data connection (via Android Authority). The easiest way to ease up on your battery is to make sure adaptive battery is enabled. The feature ensures that apps are only using your battery when needed, and apps you use less often will run less often as your phone learns your usage habits (via Google).
To enable adaptive battery, head to your phone's Settings app, then tap on Battery. Inside the following menu, choose Adaptive preferences, then toggle on the switch for Adaptive battery. You can also head to the information page of any individual app you want to restrict battery usage for by going to Settings, choosing Apps, selecting See all apps, and picking it from the list that appears.
Your adaptive battery settings are too aggressive
Newer Android devices come with intelligent battery life management. To help you save battery, your device can automatically close apps that are running in the background (via Google). As noted in the previous tip, that's a good thing, since resource-hungry apps can become a huge headache if allowed to run constantly, draining your battery at an alarming rate. But when Android crushes apps too aggressively, you can miss out on important notifications, be prevented from syncing data, and more. You may have an app that you need notifications from but don't open very often, but Android will interpret your infrequent use of that app as a reason to mark it as low priority and put it to sleep (via Android Police).
If there's a specific app you know you want to be exempted from intelligent battery management, simply open your app drawer, locate it, and long press on the icon to open App info for that app. From there, select Battery and select Unrestricted from the Manage battery usage section. However, if you own a Samsung phone, things work differently. Samsung has its own battery management layer running on top of Android, which you can find by opening Settings and selecting Battery and device care. Tap on Battery to see your usage of other battery options, then tap Background usage limits.
Here, you will see three categories: Sleeping apps, Deep sleeping apps, and Never sleeping apps. If an app hasn't been delivering notifications or syncing, it's probably been placed in the Deep sleeping app category, so head there to check for any important apps. If you see an app that you don't want to be restricted, tap on it to go to that app's Info page. From there, the process is the same as other Androids. Just tap Battery and select Unrestricted.
Your apps have too many permissions
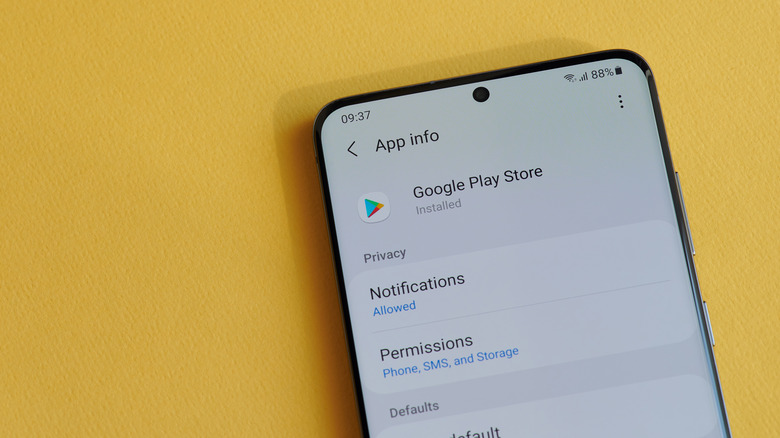
When you install an app on your Android device, it will gain access to system functions in order to do its job. But it's always a good rule of thumb only to allow the permissions an app needs for its basic functionality, especially because many apps have been caught running roughshod over user privacy. Luckily, newer versions of Android have a permissions manager that will show you which apps are using which permissions and make it easy to disable those permissions if an app is overstepping its boundaries (via Google).
To do so, head into Privacy settings and tap on Permission manager. There, you'll see each permission type (Storage, Microphone, Camera, and so on) in a list. Tapping on one of these categories will show you all the apps with the corresponding permission enabled. If any app has more permissions than it should or has permissions enabled for a feature of the app you don't use, tap on it from the list. You'll have the option to Allow only while using the app, Ask every time, or Don't allow. Pick Don't allow if you never want the app to have the specified permission, or Ask every time if you want to have manual control over it when you use the app.
You're letting too many apps track your location
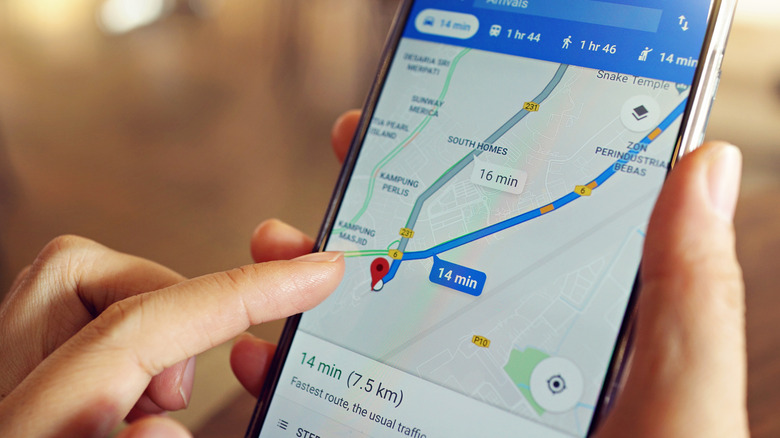
Aside from the uncomfortable feeling that comes with knowing that major companies know where you live, work, and visit, letting apps use your GPS can be one of the largest drains on your battery (via The Verge). You may find that many apps you wouldn't assume to be using your location are asking for it anyway, and there may be some apps with legitimate uses for location data that you still would rather not have it. Does Facebook really need to know everywhere you go?
You can find location permissions in the permissions manager by following the same steps as in the previous tip, where apps will be sorted based on their level of restriction. However, in addition to the three levels of permissions restrictions noted above, Location permissions have the additional Allowed all the time option, which is the most lenient, allowing apps to track location even when you're not actively using them (via Google). You can also pick from Allowed only while in use, meaning the app must be running to use GPS, as well as Don't allow, which bars the app from ever tracking your position.
You don't have dark mode enabled

If you're tired of being blinded by bright, white menus when you're scrolling in bed, it's a good idea to turn on dark mode. In addition to reducing eye strain, dark mode can also draw up to 60% less battery if your phone has an OLED panel, such as can be found on Pixel and Galaxy flagships. Since OLED technology turns off individual pixels in the display, any pixel that's black is simply turned off (via Zapier). Android phones have reached the point where almost the entire system can be dark-ified, and many third-party apps have also added the option. If you only want dark mode on at night, you can schedule it for a particular window or have it sync to sunset and sunrise at your location (via How-To Geek).
To turn to the dark side, just head to Display settings from your Settings app and toggle on the option for Dark theme. To get more granular control and schedule when dark mode is enabled, tap on Dark theme and select Schedule from the next screen. You'll get a pop-up menu with options for Turns On At Custom Time and Turns On From Sunset To Sunrise. The latter option is great for those with rigid schedules, while the latter may suit users who like a more natural feeling to their experience.
On Samsung phones, things are a bit simpler. From Settings, select Display, and you'll see Light and Dark options right up top, accompanied by illustrations. Beneath that is Dark mode settings, where you'll find a toggle to Turn On As Scheduled.
You're letting Google collect your information
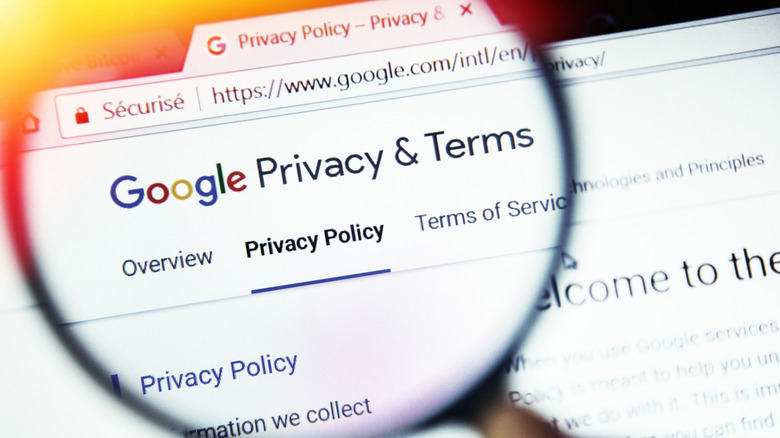
By default, Google scrapes diagnostics and usage information from your Android device to improve its services. According to Google, Android collects info such as your battery life, how often you use apps, and the quality or frequency of your network connections. Google claims this data is primarily used to improve its services, develop new ones, or improve safety, but a study from 2021 found that Android sends data to Google at a rate 20 times higher than iPhones do to Apple (via Consumer Reports). Whatever they're using that information for, they've got 3 billion other Android devices to help them with that (via 9to5Google). You may want to consider opting out.
Luckily, it's not a pain to do so. Simply head to settings, select Google, then tap on the kebab menu in the top right, head to Usage & diagnostics, and toggle off the option by that same name. Congratulations: you're now sending ever so slightly less information to our almighty search overlords.
You're letting Google target you with ads
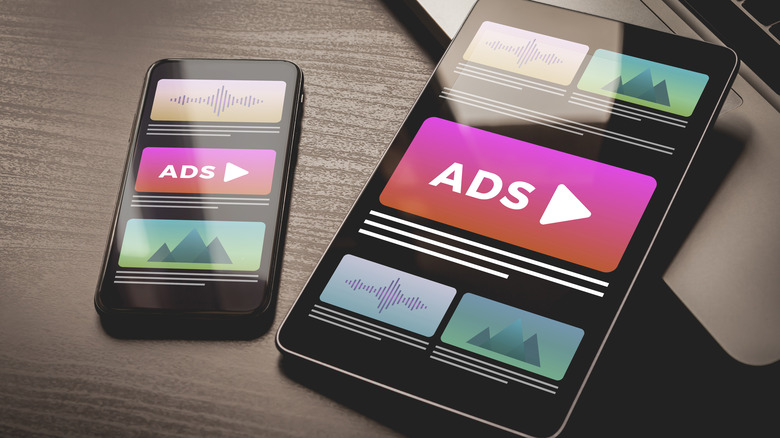
At the end of the day, Google makes money by selling targeted advertising (via CNBC). That means it's looking to use your Google history to home in on your innermost desires—in other words, bombard you with ads for stuff you Googled but had no intention of buying. To their credit, Google recently introduced an Advertising ID that allows users to easily opt out of personalized advertising (via Google). While the company previously made it possible to opt-out of targeted ads, this new system allows you to anonymize yourself to app developers, as well (via CNBC). While many developers may bemoan this change and privacy advocates would rather the system be opt-in rather than opt-out, it's ultimately placing at least a bit more control in the hands of you, the user.
To disable ad personalization, you'll once again want to head to the Google section of your settings. Tap on Ads, tap Delete advertising ID and confirm your choice on the next page. Voila: no more ads for the same toaster oven chasing you across the internet. To be clear, you'll still get ads, they just won't be based on your device activity (via Electronic Frontier Foundation).
Your data isn't backed up automatically

This tip may not improve your Android experience immediately, but if your phone is lost or destroyed, you'll be grateful to have enabled automatic backup through Google. Enabling a cloud backup allows you to recover information, such as after resetting your phone or when you get a new one, and through its Google One service, Google allows you to back up app data, call history, contacts, settings, SMS messages, pictures and videos, and MMS messages (via Google).
On Pixels and other near-stock Androids, you'll find the option in System settings under Backup, whereas on Samsung One UI, it resides in Accounts and backup settings, from where you'll find the submenu Back up data. In either case, from there, toggle on the option for Backup by Google One. On the same page, you'll also be able to fine-tune which data you want to be saved to the cloud, from apps and media to calls and texts. When you set up a new device, you'll be prompted to download your backups after signing into your Google account.
You've got Wi-Fi and Bluetooth scanning enabled
Lastly, your Android is equipped with the ability to scan for Wi-Fi networks and Bluetooth devices, even when those radios are turned off. The purpose of this is to improve location accuracy — since wireless routers are tied to IP addresses, which can help your phone to triangulate location based on the broadcasted IP addresses from routers within range of you. However, in practice, it can mean wasted battery (via Finder).
To nip those scanners in the bud, head to Location settings and tap Wi-Fi and Bluetooth scanning, then toggle off the options for both.
Once you've gone through all the various settings addressed in this article and set them to your preference, you should have a much more optimized Android experience. That means snappy animations, smooth navigation, more battery life, apps that work for you rather than the other way around, improved privacy, and a more clean runway to exploring more intense features.