How To Livestream On Instagram Using Your Computer
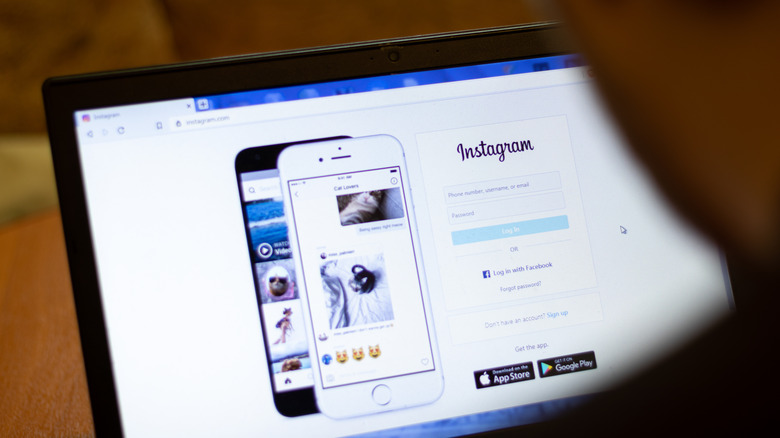
One of Instagram's most useful features for content creators is Instagram Live. It's an additional setting for Instagram Stories that allows you to jump on the app, share real-time videos of yourself, communicate with your followers, and respond to comments from your audience as they come in. This feature is easy to get to through any of Instagram's mobile apps, but if you're more of a desktop computer user, you may be wondering if it's possible to stream on the platform using your PC.
According to Instagram, there is, in fact, a way to stream live content from a computer using its Live Producer platform on the Instagram.com website. The feature integrates with popular third-party streaming programs, linking the software with your Instagram livestream via a unique stream key. At the time of writing, Instagram Live Producer is only available through the Instagram website and is offered as a limited rollout to its users, though that will hopefully change in the future. The support does offer some major benefits over mobile streaming, however, including the ability to use more than one microphone and access to the feature offered by the desktop software.
Technical things to note before you livestream
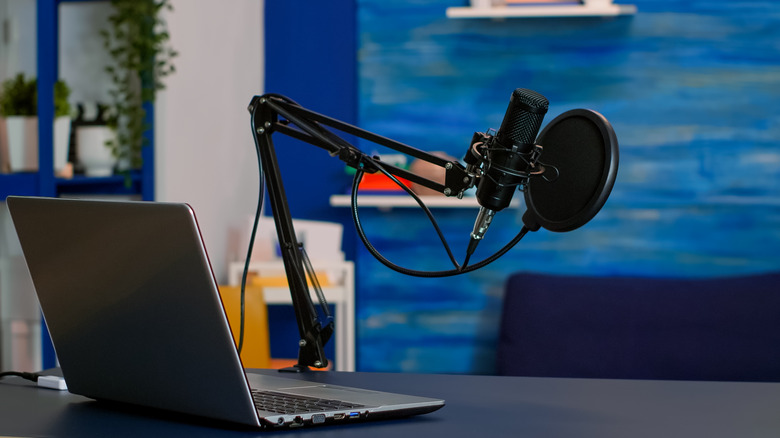
If you don't have one already installed on your computer, download a third-party program to use for livestreaming on Instagram via your desktop computer. Some of the applications that Instagram recommends are Streamlabs, OBS, and StreamYard. Once you choose and install one, you should go through the app's settings and make sure that the video and audio format specifications are properly set up before you hit record.
Based on Instagram's initial testing of the feature, having the video set at a 16:9 aspect ratio is highly recommended, with the resolution set at 1280 x 720 and the frame rate at 30fps. If needed, Instagram Live Producer can support a frame rate value of 60fps, as well, but because of early bugs, the stream may still be seen as 30fps on Live Producer's preview page. Recommended audio settings include a sample rate of 44.1 kHz and a stereo channel layout. Suggested bitrates for the streaming output are 2,250 to 6,000 Kbps for video and up to 256 Kbps for audio, Instagram says.
According to TechCrunch, certain Instagram Live features will not be available through Live Producer, such as pinning comments, accessing responses to Q&A stickers, fundraising, live shopping, and live rooms. All you can really do through a computer-based Instagram Live broadcast is view comments and make responses on camera while Live Producer is running. Additionally, there's also no way to add a moderator to a Live Producer livestream, so you'll have to manage comments and viewers on your own. This may change in the future, however, as Instagram refines the feature.
How to generate a unique livestream URL and key
Once you have all of the necessary video, audio, and output settings adjusted to Instagram's recommended values, here's how you can get a special link and code for your chosen third-party streaming program, which you will need to connect it with Instagram and begin your broadcast from a computer:
- Launch the streaming application.
- On the app's main screen, find the area where you're supposed to plug in your server URL and stream key to start broadcasting directly on Instagram — you will need this for later. It will probably be in "Settings" under "Stream" or a similarly named submenu, though it varies based on the software.
- On your preferred web browser, go to Instagram's website.
- Click the + icon on the top-right corner of the page to add a post. You'll know if you have access to the Instagram Live Producer feature when you can view and select "Live" from the dropdown menu.
- Once you're inside of the "Go live" page, type in a title for your live stream video in the "Add a title" text field, then select an audience from the dropdown. "Practice" will only be viewable to you, while "Public" will share your stream with your followers.
After you hit the Next button, Instagram should pull up a screen that contains a unique stream URL as well as a stream key. Do note that these links are dynamic and will change every time you access Live Producer, according to Instagram.
How to connect your computer to Instagram and begin streaming
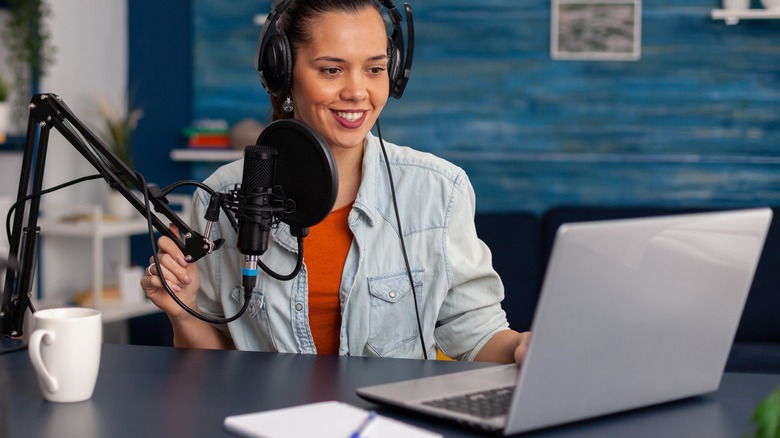
Now that you have the links required to integrate your chosen streaming platform with Instagram, here's how you can start streaming through Instagram Live on your laptop or desktop:
- Go to your streaming app's Stream page.
- Select Instagram from the list of integrated services and use your Instagram login credentials to connect the account. Skip to Step 6 if the integration is successful.
- If it's not on the list, select Custom or Custom RTMP.
- Copy the stream URL and paste it into your streaming application's Server field. Do the same for the stream key.
- Hit the button that will apply the changes to your streaming program and follow the onscreen instructions if there are any.
- Tweak your video's settings within your streaming software until its layout is according to your desired preferences.
- In your streaming application, hit the button that will start your livestream. Instagram's Live Producer viewer should show exactly what the broadcast coming from your streaming app looks like, but it may take several seconds to update.
Once the preview on Live Producer is confirmed to be the same as the one on the streaming application, hit "Go live" to start the livestream on Instagram. This should automatically pull up the comments tab where you can see and respond to comments from your followers or livestream viewers.
How to end and save your Instagram livestream on a computer
To ensure that your livestream stops recording in a seamless manner, make sure that you end it on Instagram by clicking "End live video" before you stop it in your streaming app. Otherwise, the video will continue showing the last frame as a still until you end it on Instagram. A completed video of your concluded livestream should show up in Instagram's Live Archive, provided that you have it enabled. This can only be done through one of Instagram's mobile apps:
- Launch Instagram on your mobile device and go to your profile page.
- Tap the Menu icon (three horizontal lines) located on the top-right corner of the screen.
- Select the Settings option, then go to Privacy.
- Hit the Live option, then make sure the "Save Live to Archive" setting is enabled.
Instagram Live videos can be accessed and kept through the Live Archive page for a maximum of 30 days. This is where you can view, save, and download your previous livestreams. Again, these actions can only be achieved through Instagram's mobile apps:
- Launch Instagram on your mobile device and go to your profile page.
- Tap the Menu icon (three horizontal lines) located on the top-right corner of the screen and select Archive.
- Hit the dropdown menu at the top of the screen and go to "Live archive."
The Instagram livestream you just recorded on your desktop computer should be there if it was ended correctly. You can share it on your Instagram profile or download it onto your mobile device.