Ten Tips And Tricks For Windows 10
So Windows 10 has been out for more than a week and, if you were in any way immersed in Microsoft or Windows news, you probably are already aware of how it fared. Maybe you even read our hands-on after spending a week with the latest version of the most popular, or even unpopular operating system in the world. But if you're just receiving the update now and are about to embark on the journey for yourself, what are the tools you need to bring? Where are the pit stops you need to make? Here are our top ten favorites.
1. Use the Search, Luke!

Or whatever your name is. Seriously, Windows 10's settings are so many and so spread out that, unless you happen to be related to a certain Ms. Croft or have an eidetic memory, you are likely to get lost in the jungle. Luckily, Windows 10's search tool is powerful enough to handle all those cases. Simply type in a related word for the setting you are looking for and watch as it populates the list. Of course, it's also good for searching things both on your PC and on the Web. Since you will most likely be mucking around with settings from Day One, this might be a good habit to develop from the get go. While you're at it, why not enable Cortana if she's available to you. Having a smart assistant can sure be handy, but just make sure you're only sharing with her (and consequentially, with Microsoft) what you really do want to share. Which brings us to the next most important thing to do after a Windows 10 upgrade.
2. Keep Private Things Private
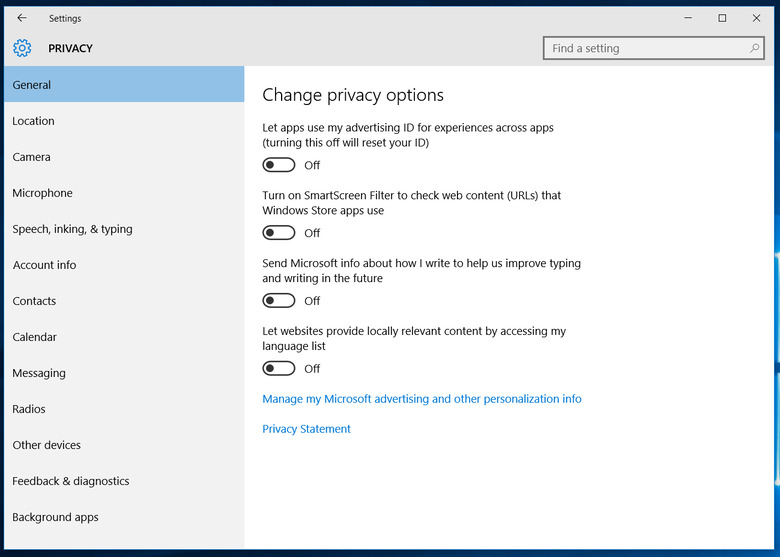
Never presume that Microsoft always has your best interests in mind. It isn't running a charity, after all. So don't be surprised if a lot of the knobs that give Redmond a glimpse at your information point to the "On" position. Turn them off if you're sure you won't need them. Wi-Fi Sense? Nonsense! P2P upgrades? Only if you're feeling generous or are on a work PC (in which case better check with IT first). Restart after updates? Only when I say so (or at least at 3:00 in the morning). The Privacy settings are particularly important so this might be the one case where you'll want to go through everything with a fine-toothed comb. That said, turning some of those toggles off does mean you will be giving up some features. Just be sure you're well aware of what you're sacrificing by saying "Yes".
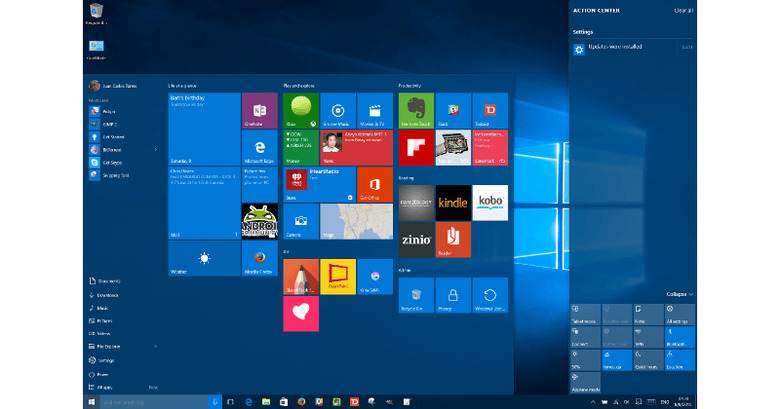
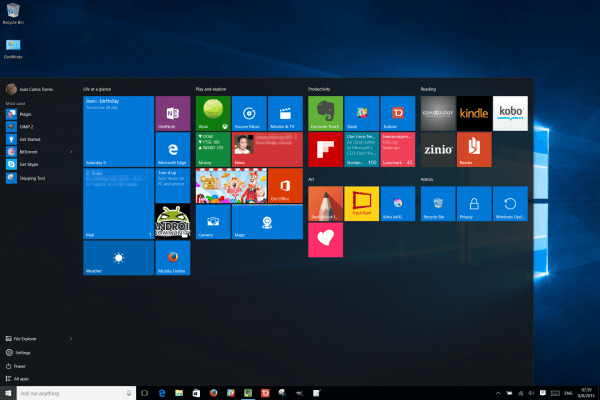
3. Start from the Beginning: The Start Menu (and Screen)
Your Windows 10 journey will most likely start, restart, and happen daily on the Start Menu. Or Start Screen if you're forever in tablet mode. The Start Menu might not be the perfect incarnation of an old favorite, but it sure beats the hell out of nothing. But if you really have a passionate hatred for all things tile-y, there are still some ways to bring a semblance of sanity back. Here are some of the ways you can customize your Start Menu/Screen.
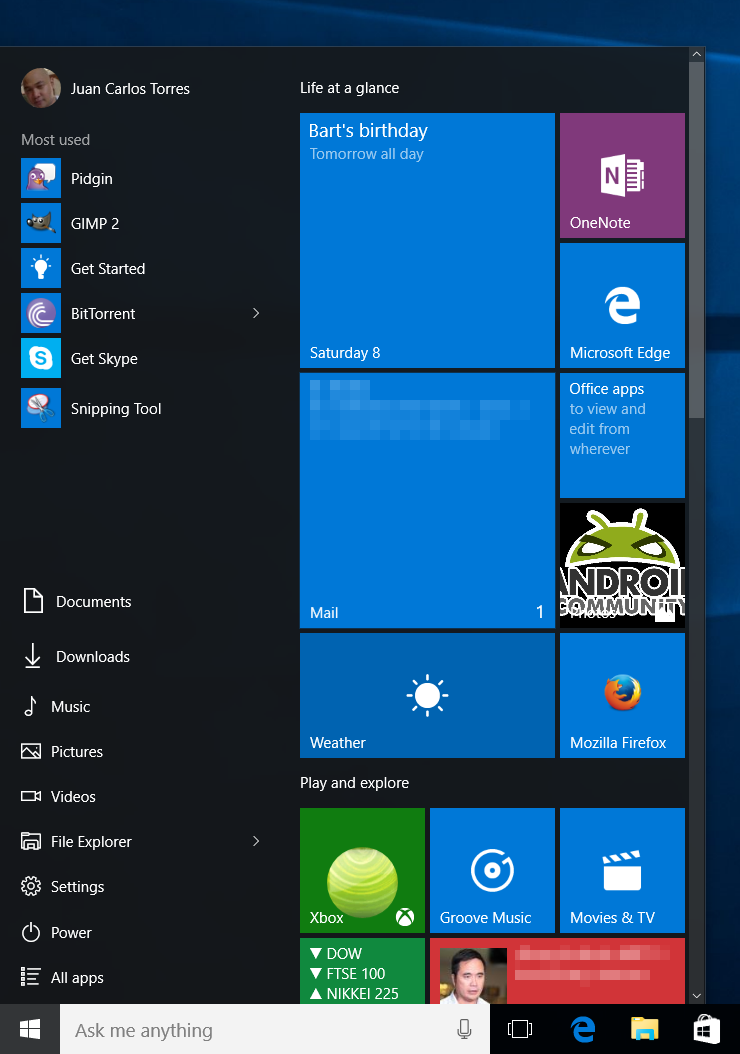
Add/Remove Tiles
By default, half of the Start Menu is dedicated to those Tiles, whether Live or static. That's the compromise that Microsoft is willing to make to give back the Start Menu without throwing everything out the window. Of course, you still have control over which tiles are there. You can add tiles, which is done by right-clicking (long press on touch screens) on an app and selecting "Pin to Start". Yes, this is the only way you can pin programs to the Start Menu. Right-clicking on an already pinned tile gives you options to resize it or even remove it.

In fact, you can remove all the tiles there and you will be able to resize it (see next tip) to just one column of import locations and actions. It's not going to be like Windows 7, for sure, but at least you can have your peace of mind. At least after you've removed each tile one by one by one. That said, know that you are also giving up pinning to the Start Menu, as that will always add a tile. Then again, you can always pin to the taskbar instead.
Another thing to note, what you add or remove on the Start Menu is also reflected in the Start Screen, and vice versa. Think of the Start Menu as just a cramped version of the Start Screen, or the Start Screen as a blown up version of the Start Menu.
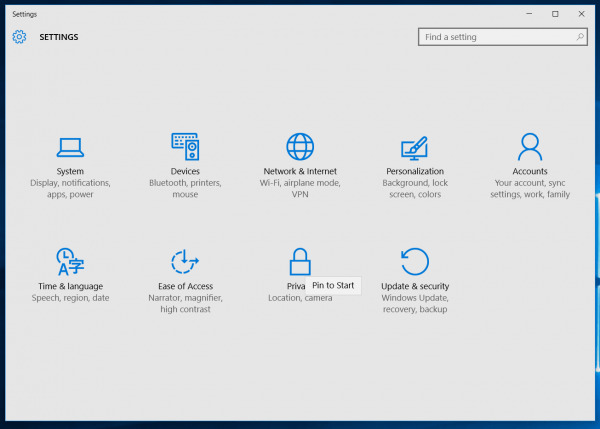
Extra Tip: You can even pin your most used settings. In the new Settings app (but not in Control Panel), simply right-click on a group of settings in the Overview page or a specific section on the left panel and select Pin to Start. That's all there is to it!
Resize the Start Menu
On the other hand, if you actually preferred the Windows 8 way with its full screen Start Screen, then you have two options even if you are stuck in Desktop mode. You can actually resize the Start Menu! Put your mouse over the top edge and drag it up or down to any arbitrary height. Widening the Start Menu is a bit trickier. You can only widen or narrow it down in fixed increments the size of a single group of tiles, which is practically 3 medium-sized tiles. Think of it as panels with fixed sizes. That said, it seems that Microsoft has dictated that there will, at most, be only three columns of grouped tiles, the max that can fit in a single screen on the Start Screen. On the Start Menu, however, you can get away with four columns.
Alternatively, you can actually eschew the Start Menu entirely and go for the Start Screen, whether or not you're in Tablet mode. All it takes is one flick of a switch.
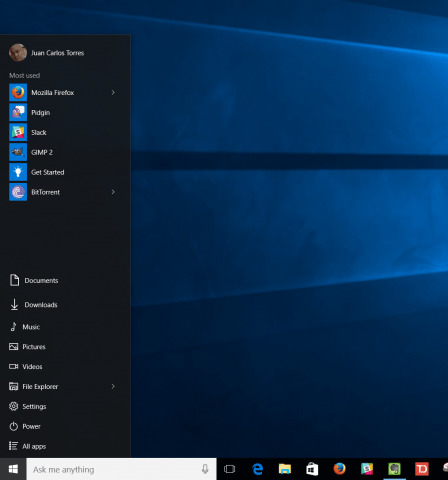
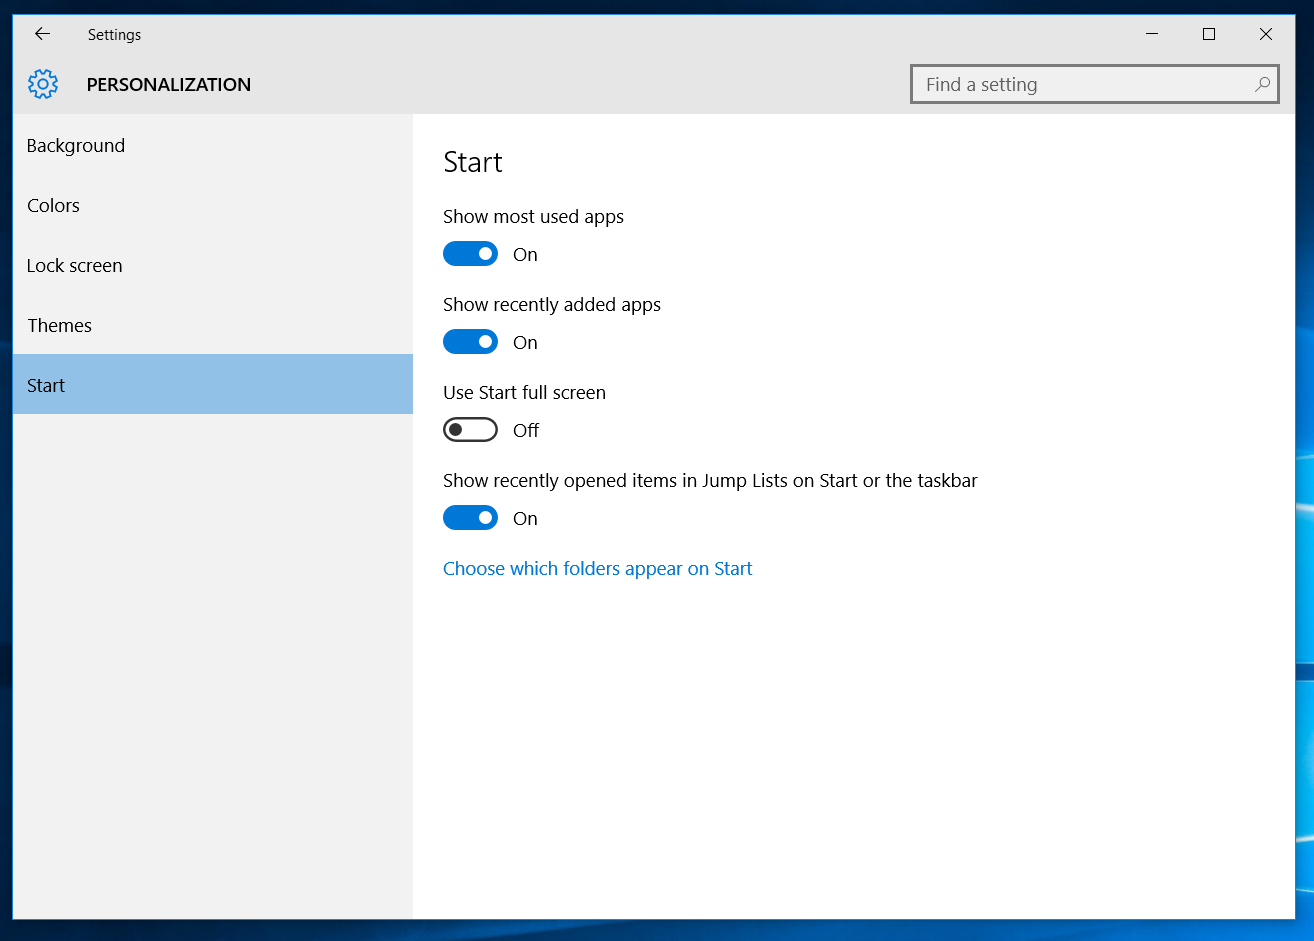
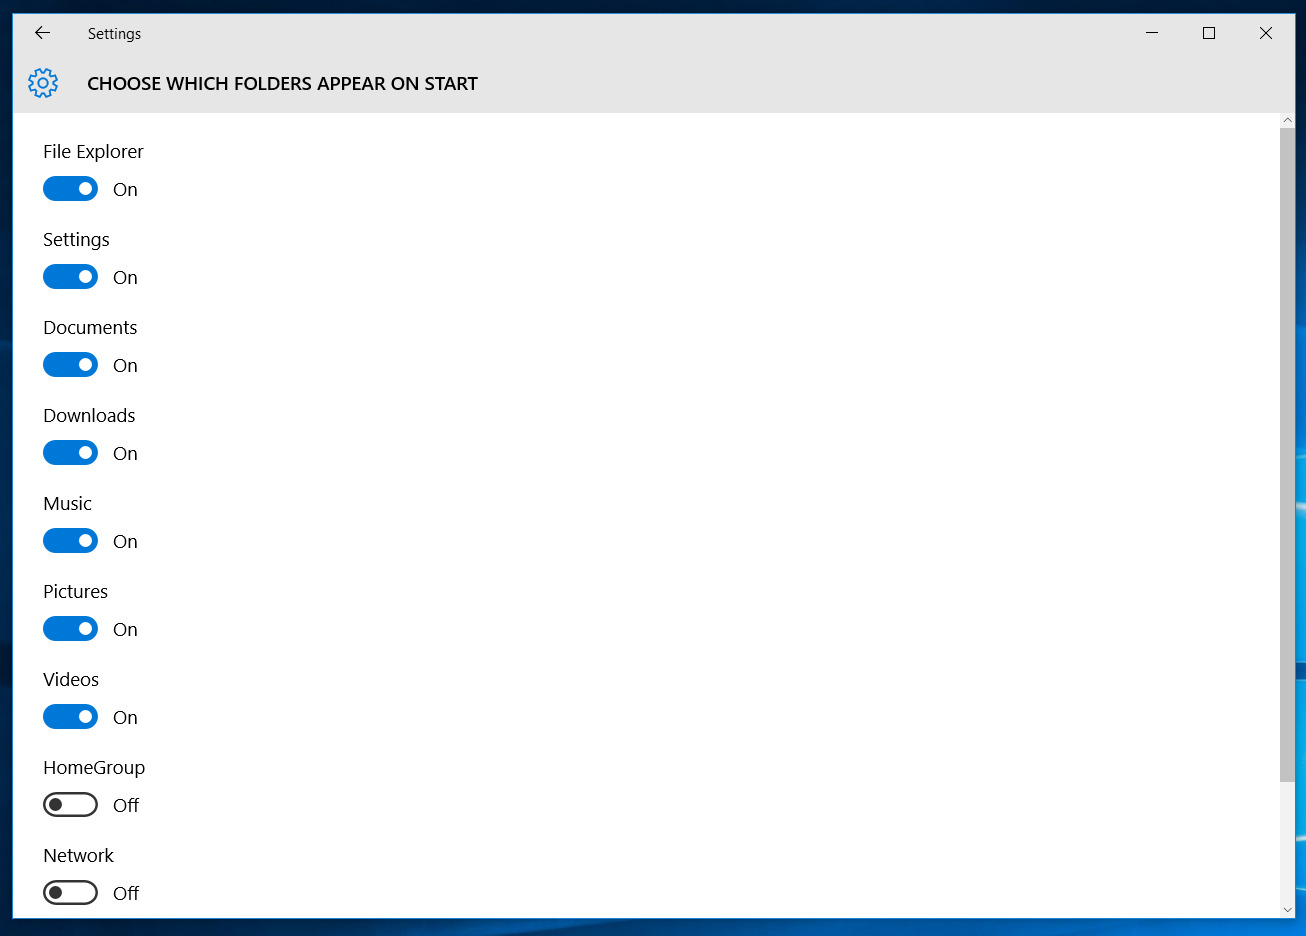
Add/Remove Folders
The left side of the Start Menu/Screen is now dedicated to more constant actions, like your most frequently used apps, a shortcut to File Explorer, Settings, Power actions, and, of course, your All Apps list. Some of these can be removed and some more can be added. Not interested in realizing that you play Candy Crush too much? Remove the Frequent Apps list. Want direct access to standard folders such as Documents, Music, and the like? Add one of them or add them all.
4. Exercise those fingers with Keyboard Shortcuts
You know how tech productivity sites always recommend that you learn keyboard shortcuts? Well, they are really handy especially when you have a lot of features available and you need quick access to just a subset of them. For example, there's the undying Alt+Tab that walks you through your open windows. There are a whole lot more but you don't have to memorize all of them. The trick is to notice which actions you use the most and check if there's a keyboard shortcut for it. Chances are, there is one, or even two. Here are some that can be done with just the left hand, perfect for those with a keyboard and mouse (sorry lefties):
• Win+Tab – Activates Task View (more on that later)
• Win+C – Triggers Cortana in listening mode so you can just immediately say what you want to ask
• Win+Q or Win+S – open up Search/Cortana in typing mode, perfect for Queries and Searches
• Win+I – Opens the Settings app
Some might require both hands on the keyboard, which is better for those on laptops:
• Win+Left or Win+Right – snap the current window to the left or right, talking up half of the screen space
• Win+Up – maximize a window
• Ctrl+Win+Left or Ctrl+Win+Right – switch to the next virtual desktop (again, more on that later)
• Ctrl+Win+D – create a new virtual desktop (you get the drift)
True, keyboard shortcuts are considered a power user feature, but everyone deserves more power right?
5. Tablet Mode on a Desktop
Fortunately for us, Microsoft isn't forcing Desktop or Tablet modes based on hardware. You can still switch between the two manually if you want to. Now why would you want to go to Tablet Mode when you don't even have a touchscreen? Fortunately, even in Windows 8, touch-based apps can be driven with a keyboard and mouse. Triggering Tablet mode on a desktop gives you the advantage of a distraction free workspace. All apps, both regular win32 ones and Modern ones, run fullscreen. There is nothing to distract you from the task at hand. Sure, you can still Alt+Tab through your apps just the same, but, at least visually speaking, you have focus. And thanks to continuum, you aren't losing functionality when you're in Tablet mode. Everything is still there, sometimes just in different locations.
"How about the taskbar?", you ask. True, the default taskbar for Tablet mode is quite different, but only superficially. You can actually add back all the cluttering app icons and system tray icons that you want. Aside from the Back button which is a nod to actual mobile devices, you can pretty much make the Tablet mode taskbar look and function like its desktop counterpart.

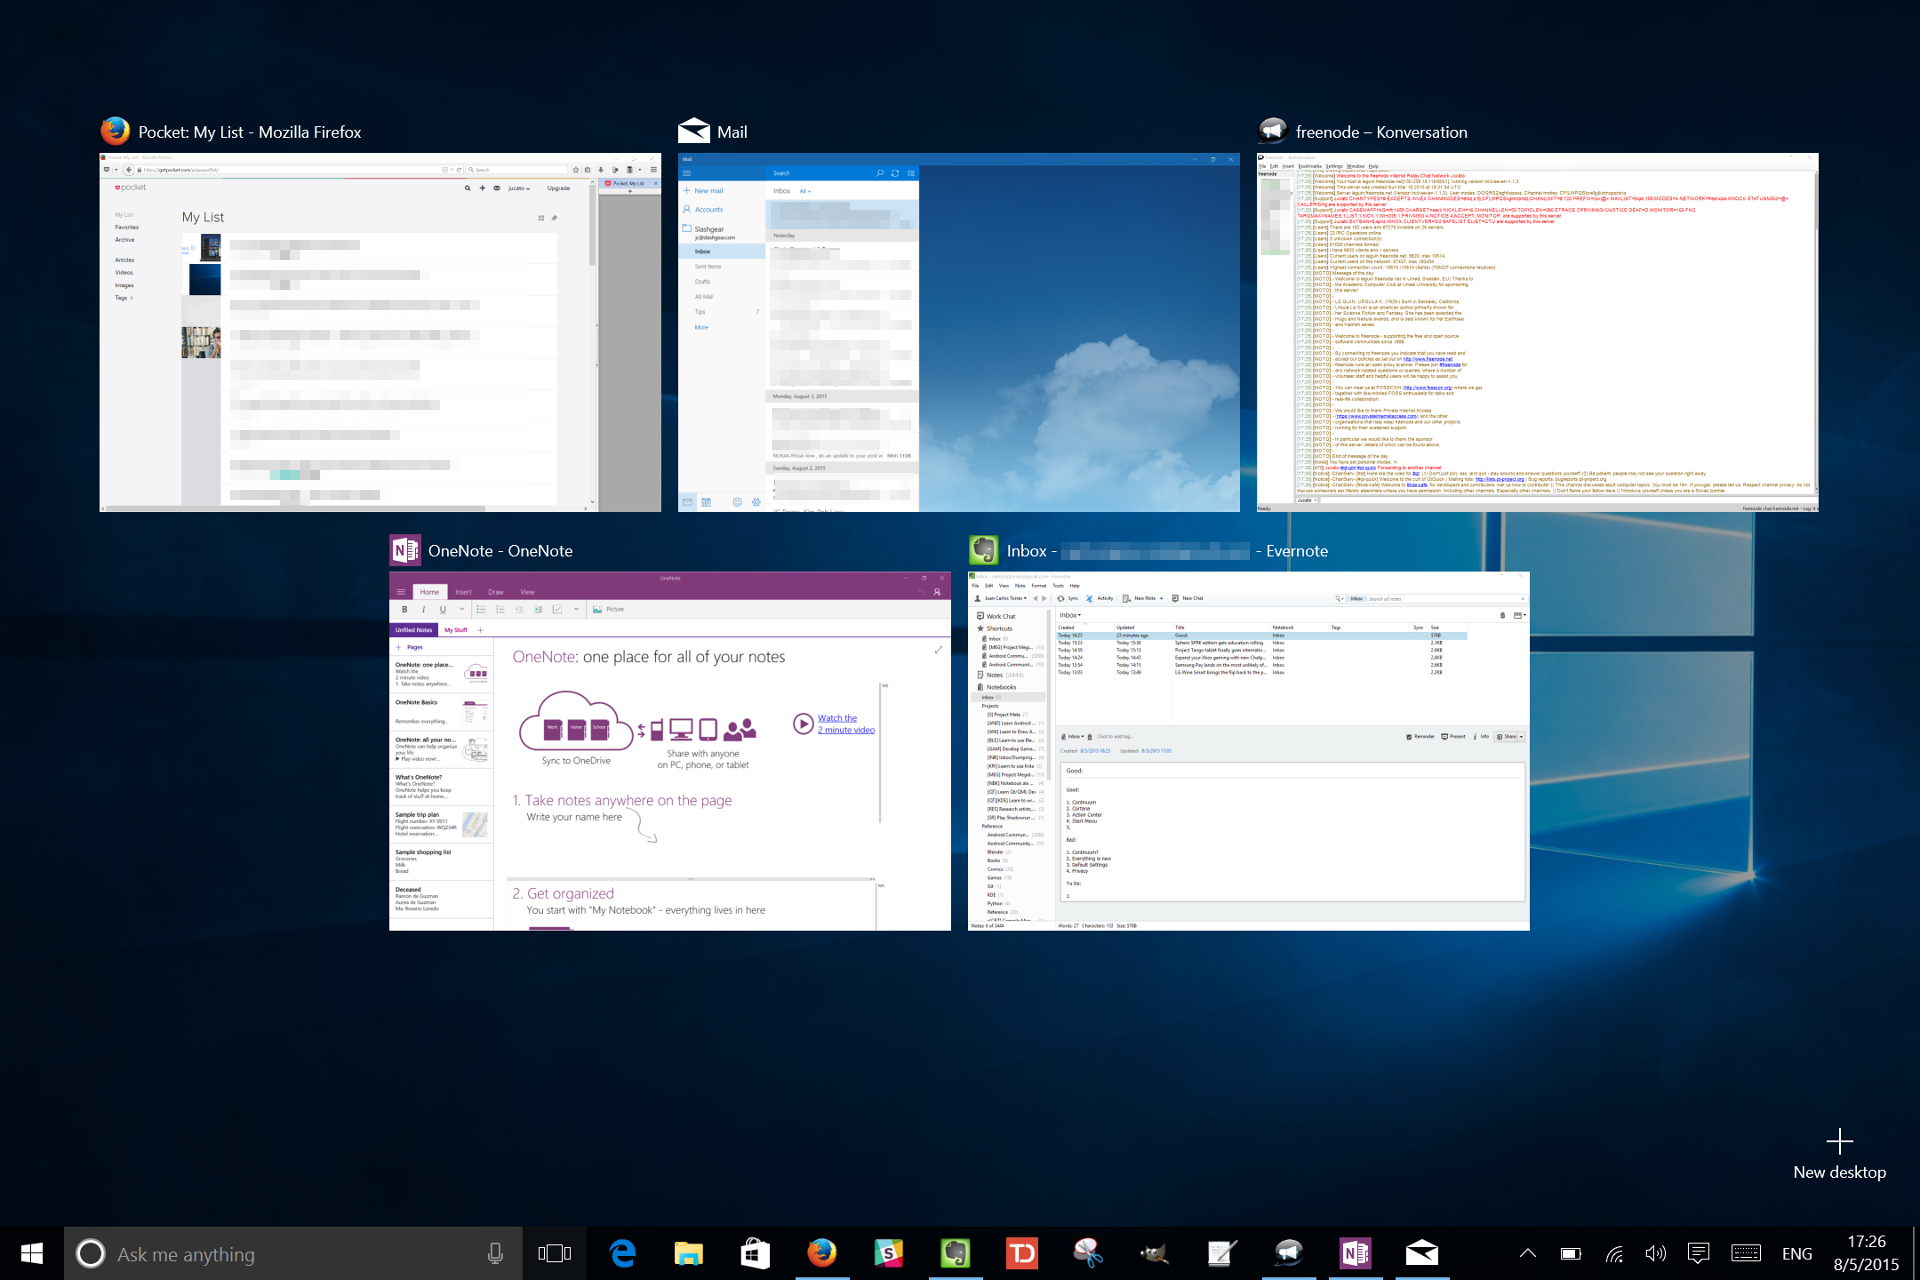
6. Organize your life with Virtual Desktops
Here's another power feature long available on LInux and Mac OS X. Actually, the feature has two parts, both revealed by a single Win+Tab shortcut. First is Task View, which is a fancier and more visual way to view all the open windows that you have. It presents windows in a grid-like arrangement versus the horizontal strip of Alt+Tab. Sometimes, it's a better way to understand just how cluttered your desktop can be.
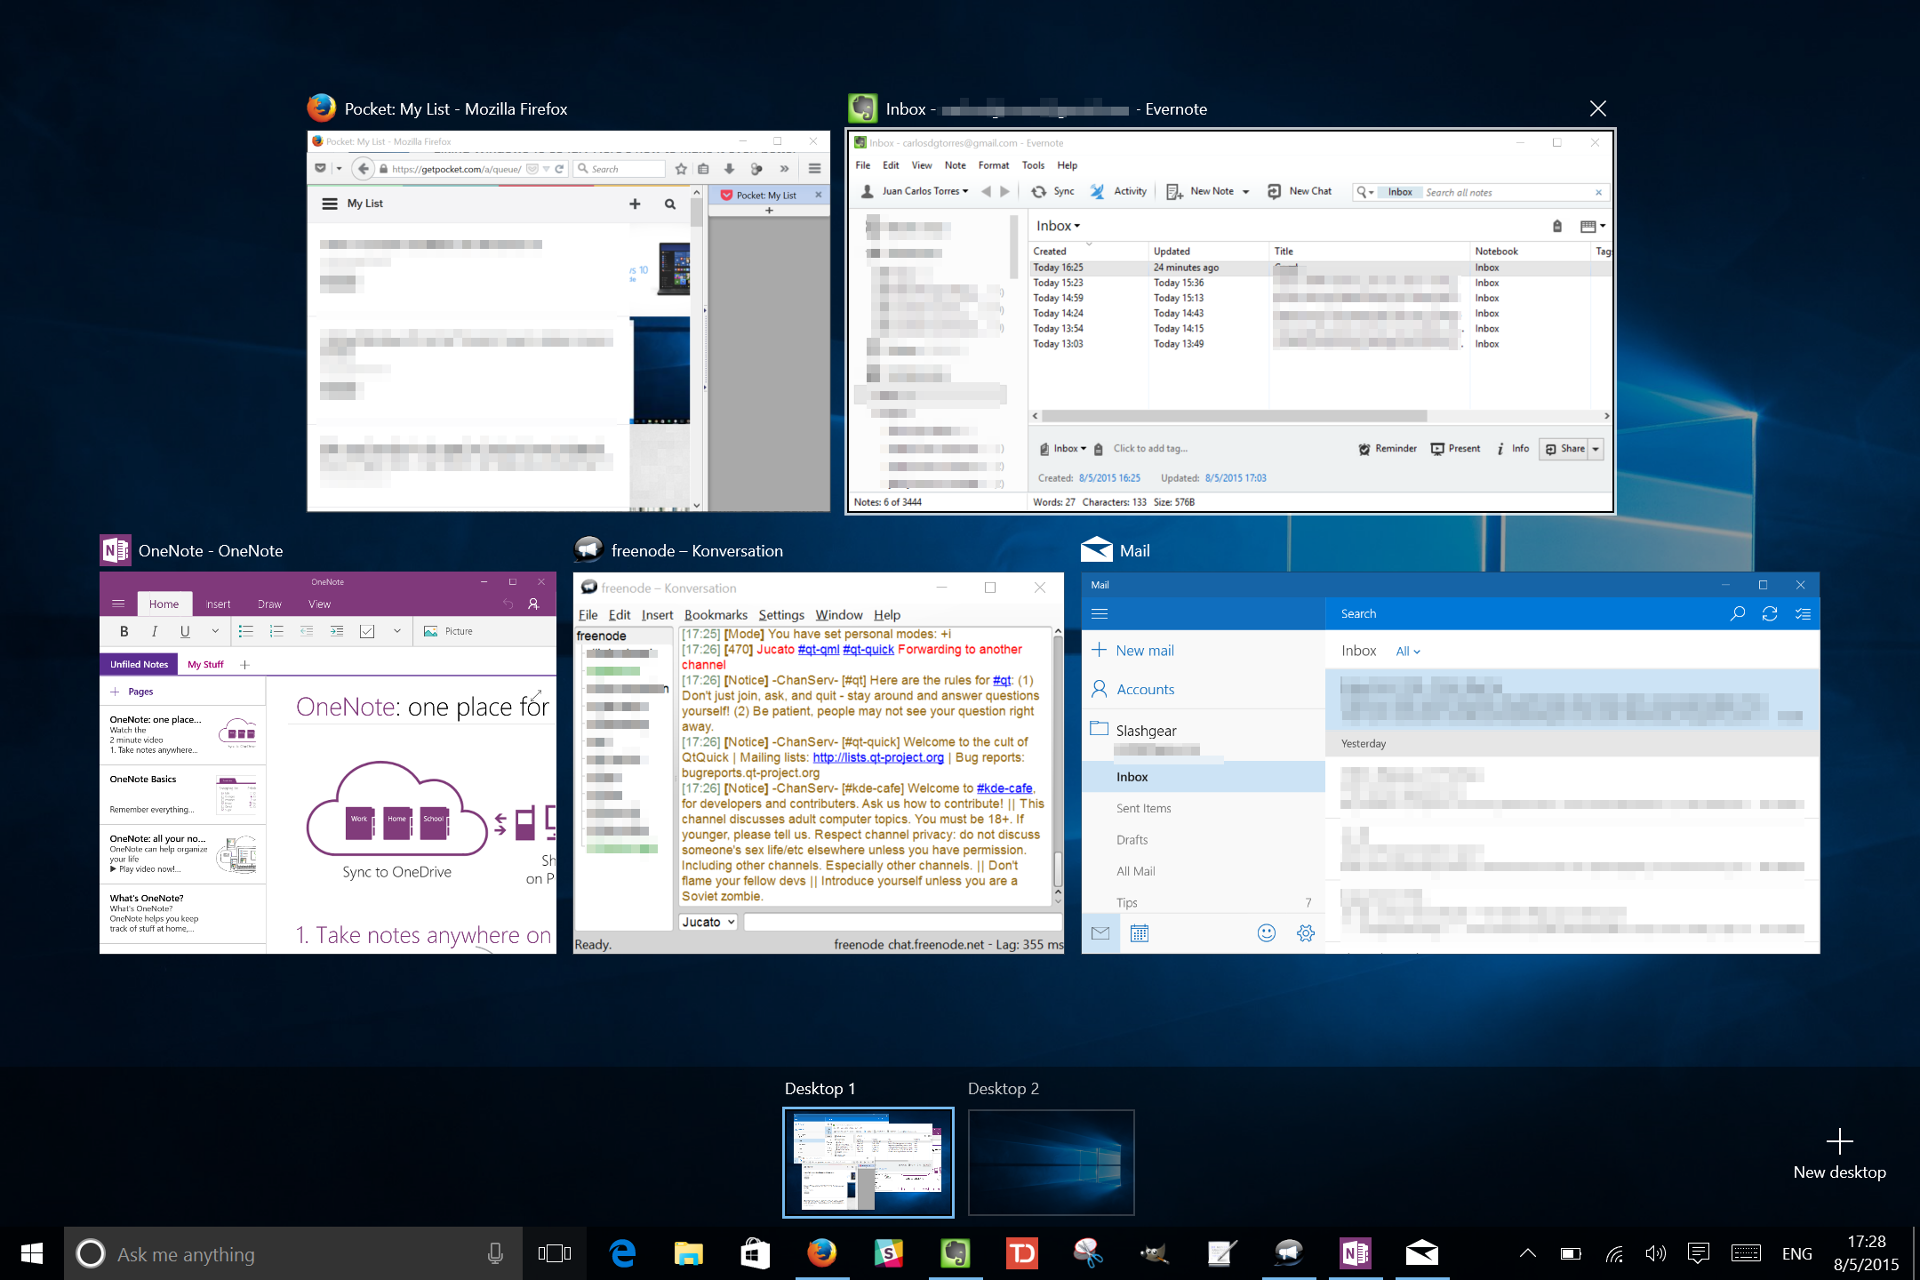
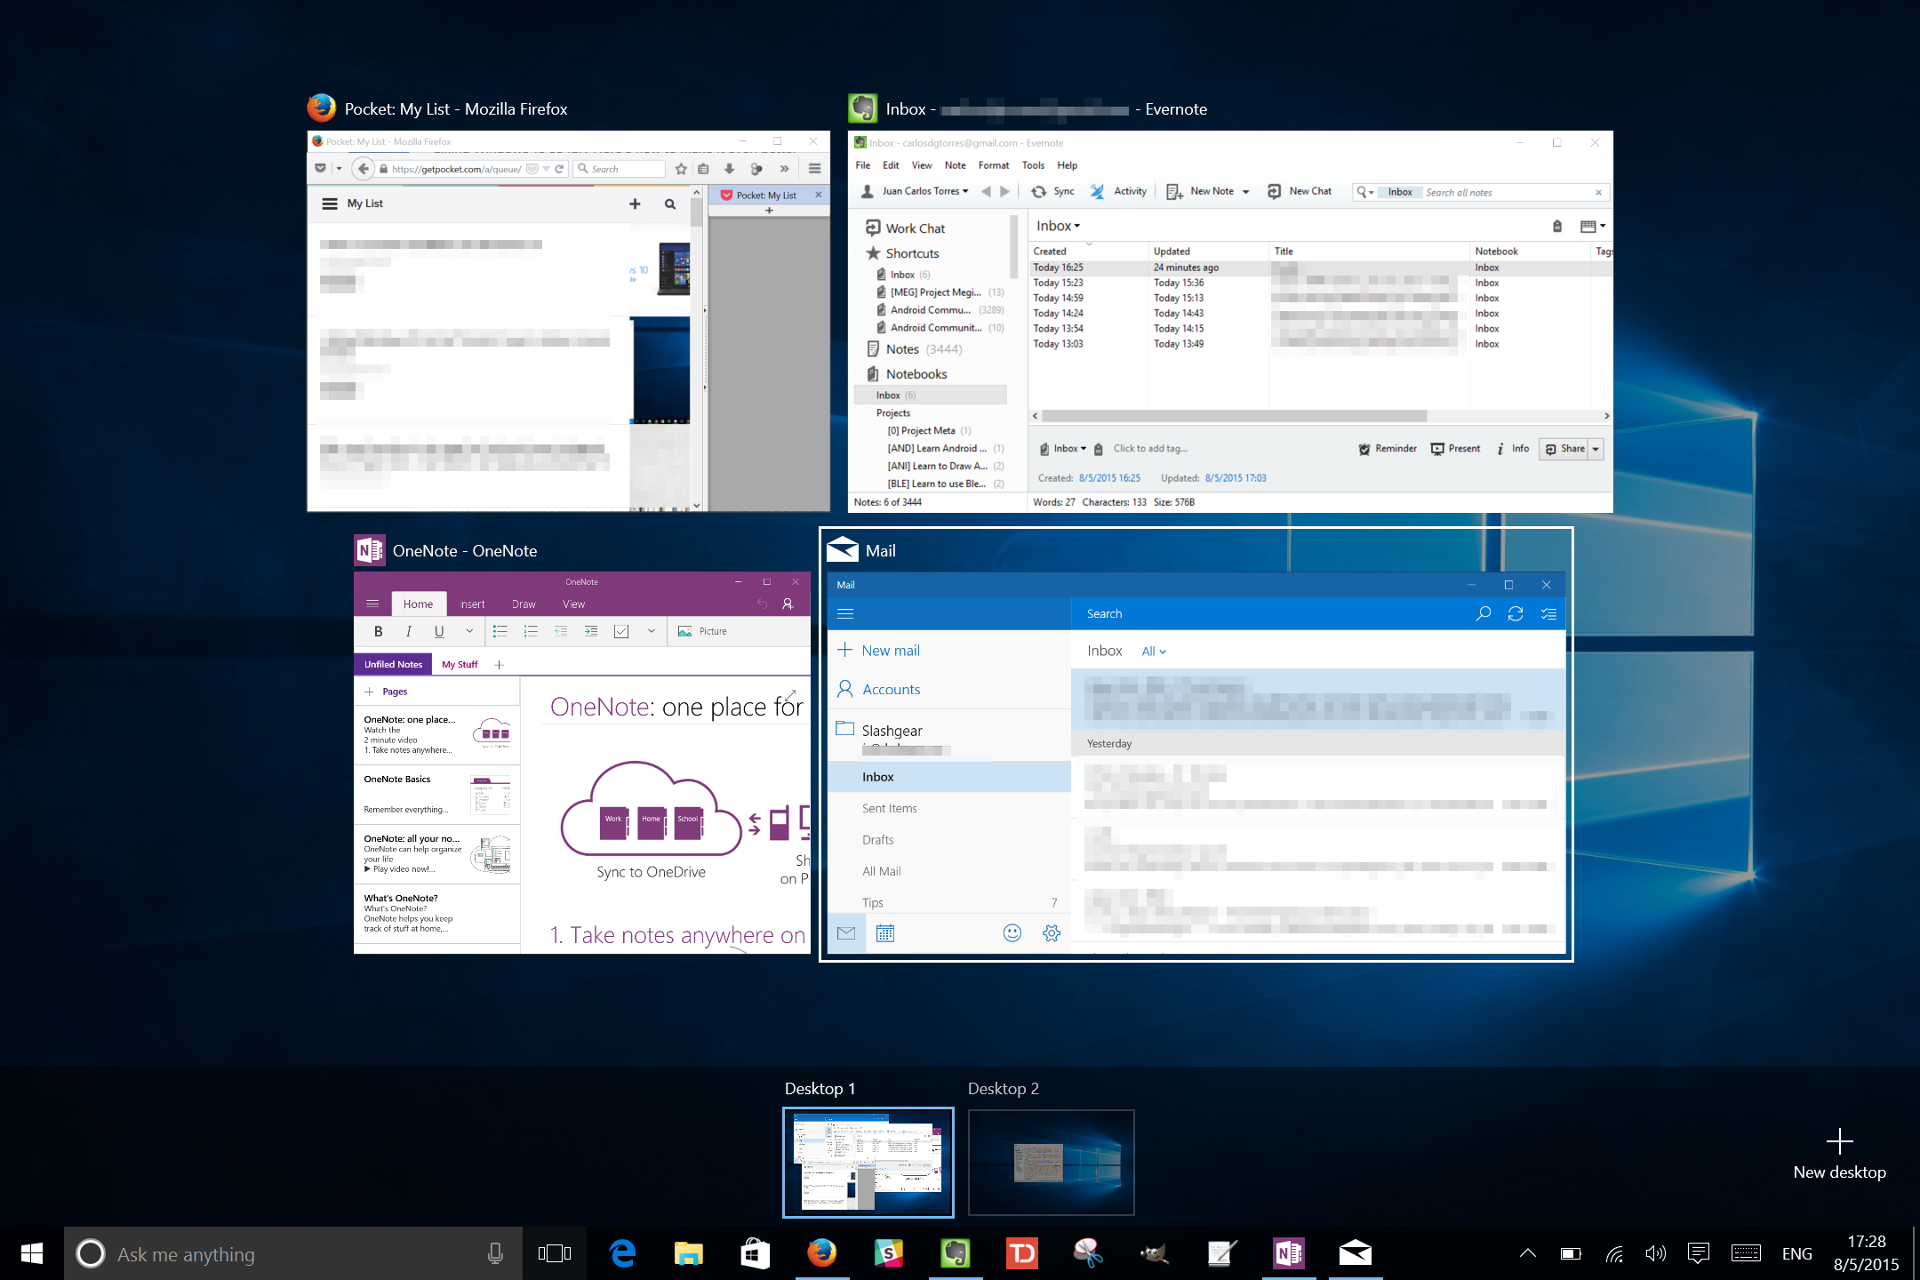
The second part of the feature actually helps fix that. Virtual Desktops are as their name describes. You can group together windows for a certain topic or task. The advantage to this is that you can have, say, 10 windows open but only 4 or 5 are really visible at a time. The rest are hidden away on another virtual desktop and won't show up on your taskbar or when you Alt+Tab. Of course, you can change that default behavior, too. Virtual Desktops are a great way to compartmentalize your activities so that you don't get overloaded with unnecessary windows and just focus on the task at hand.
One important note is that Virtual Desktops don't work in Tablet Mode. Task View, however, works as normal and is in fact the default way of switching windows (you can't really Alt+Tab on a touchscreen).
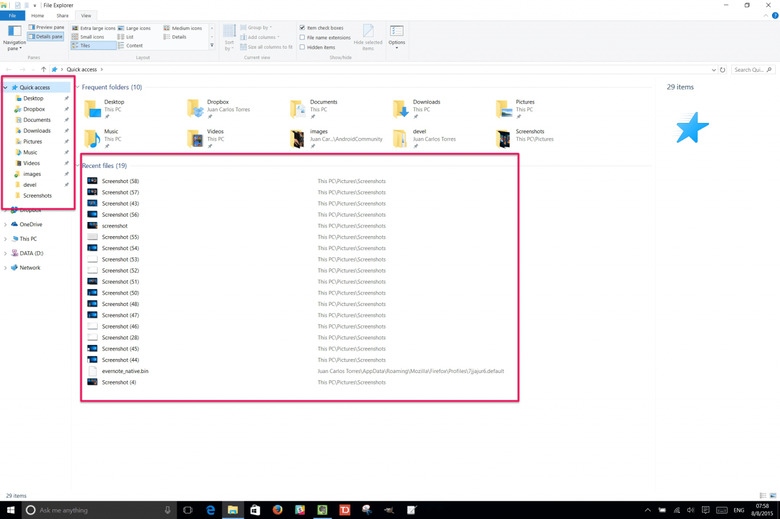
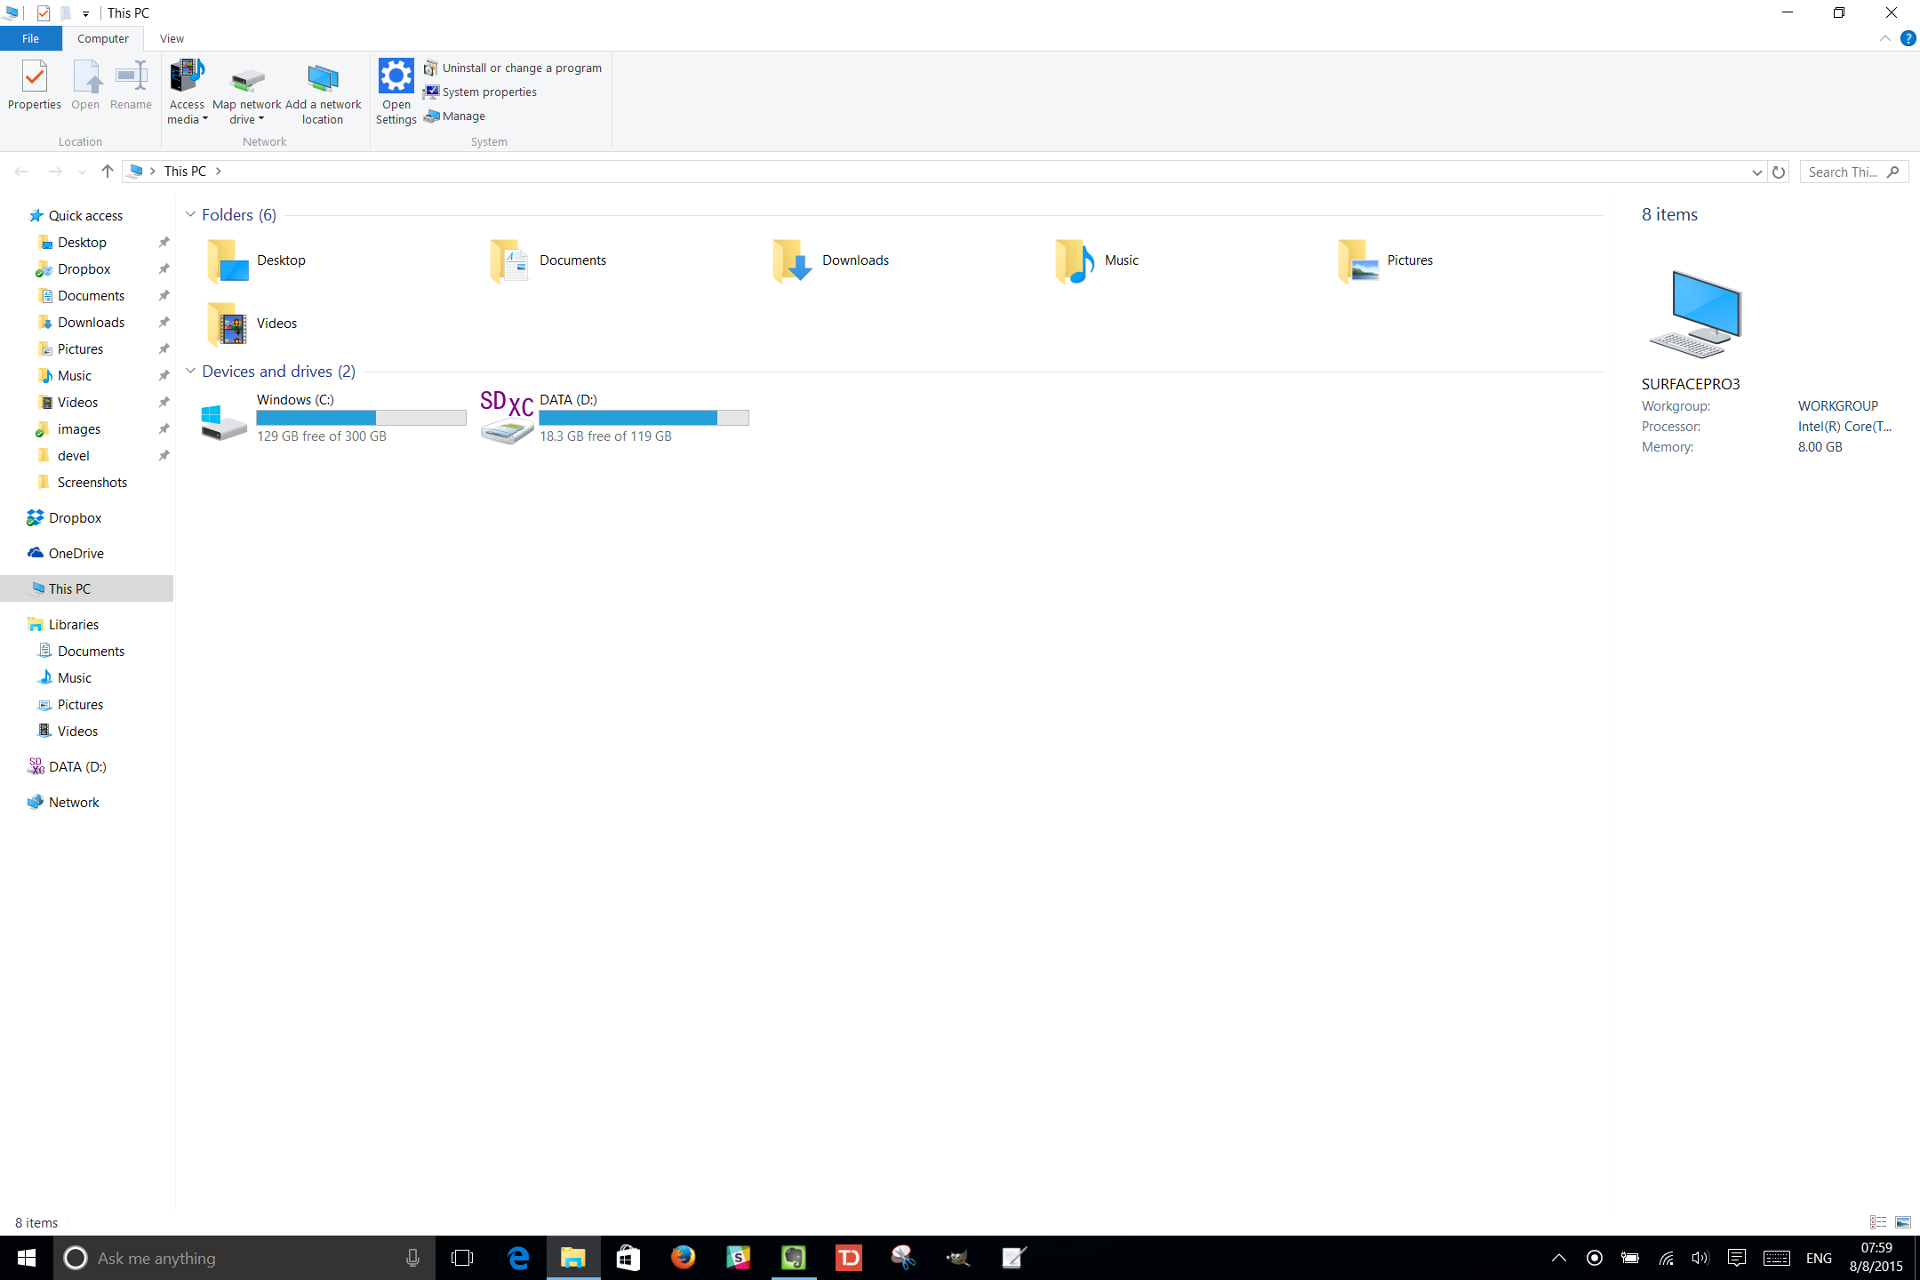
7. Quickly jump to folders in File Explorer
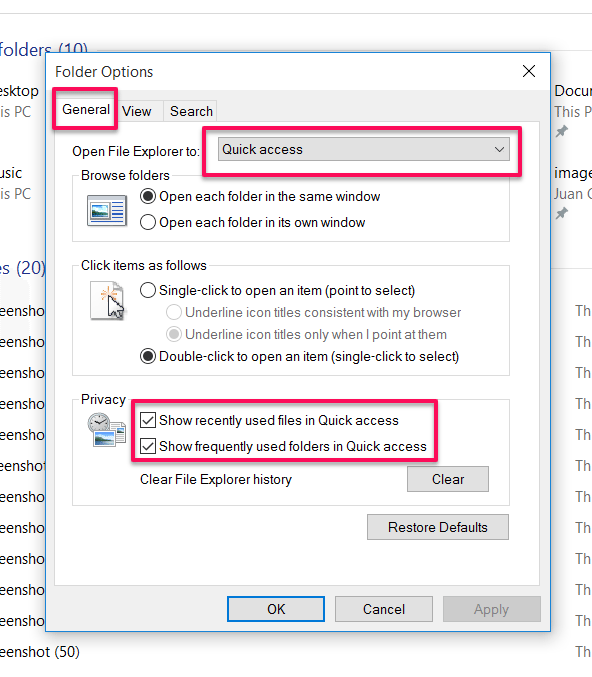
In Windows 10, File Explorer (also known as Windows Explorer in previous incarnations) got more than just a facelift. A new section on the Navigation panel to the left appears, as well as in the main area of the window when you first launch the program. This is Quick Access, which lets you immediately jump into favorite folder and most recently used files. To some effect, it replaces the Favorites list in previous File Explorers, though this one is more dynamic as it can populate that list with new items. Of course, you can turn this behavior on or off as desired. Simply go to the View tab of Explorer and hit Options. At the bottom of the General tab are the options to show or hide certain bits of information. You can also pin folders in the Quick Access list on the navigation panel to make sure they don't disappear regardless of frequency or recency of use.
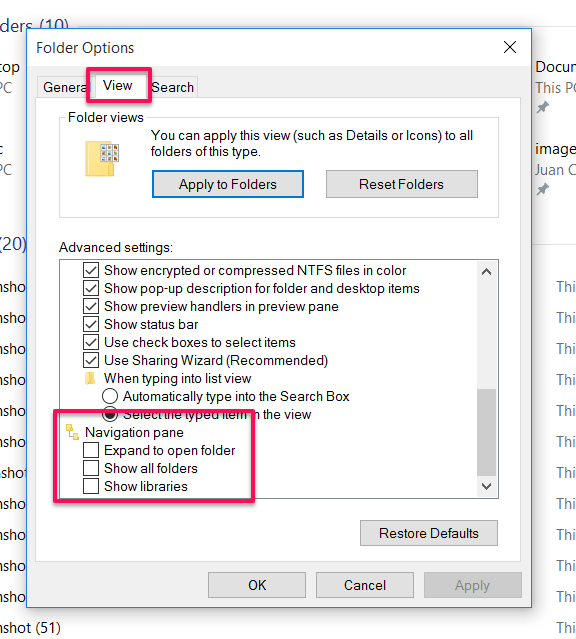
On the other hand, if you prefer the classic File Explorer look, you just need to take two steps to make that happen. At the top of that same General options, you can set File Explorer to open This PC instead of Quick Access. Second part is going to the View tab beside General, scroll down the Advanced Settings list, and check Show libraries.
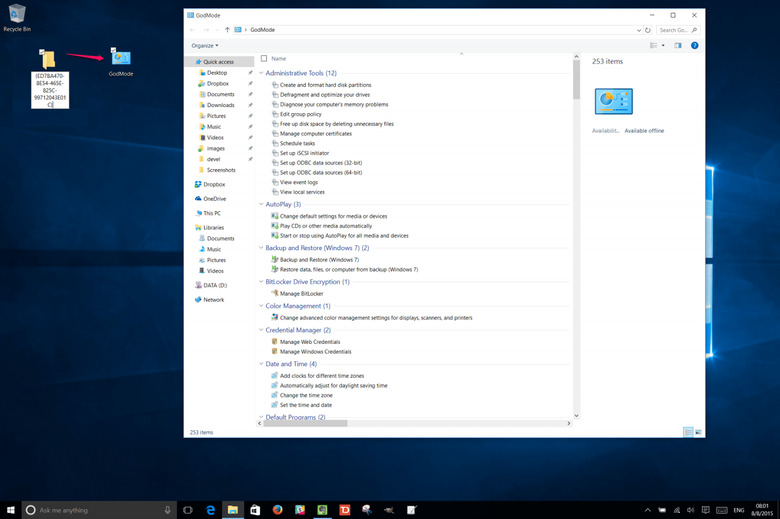
8. Become a deity with God Mode
Here's a fun little easter egg. Create a new folder on the desktop and name it exactly as below (noting the period after "GodMode"):
GodMode.{ED7BA470-8E54-465E-825C-99712043E01C}
Once you hit Enter, the folder will change its icon and you will be presented with a folder that has a smorgasbord of settings all laid out in a single list. These are practically the entire contents of Control Panel and then some, but not the new Settings app. It might be handy to get an overview of everything there is to find as far as settings go, but you might still be better off using Search.
9. Loot Bag
Here's a random list of other neat tricks on Windows 10:
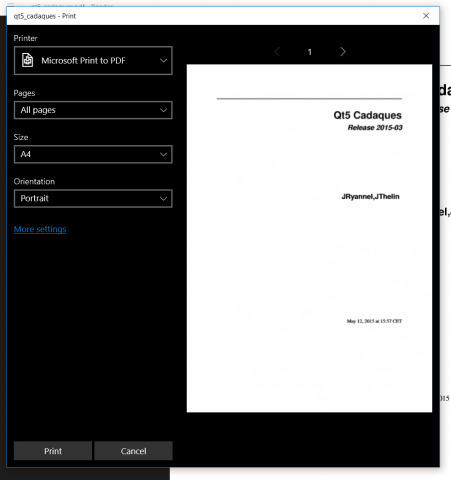
• Print to PDF – Windows finally gets a native PDF printer! No more hunting for utilities or third party tools
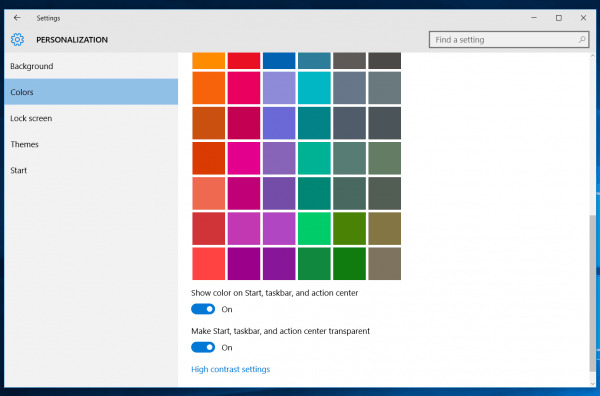
• Color your taskbar – While Windows 8 let you choose color accents for your theme, Windows 10 goes one step further. You can apply said accents to the taskbar, which is black by default, as well as to the Action Center. You can also set whether those two are translucent or opaque.
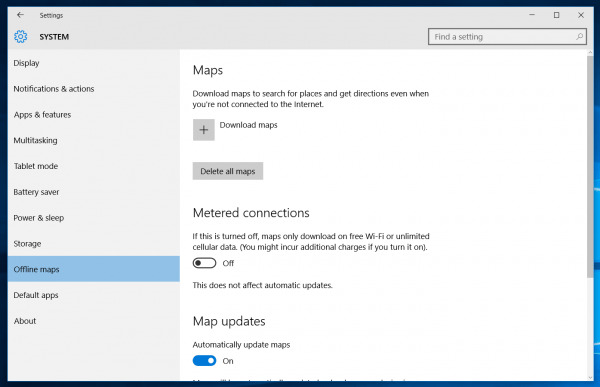
• Offline Maps – you can now download certain maps for use even when you're not connected to the Internet. Very handy for traveling. Just be sure to mind your storage space, as they can eat up quite a lot.
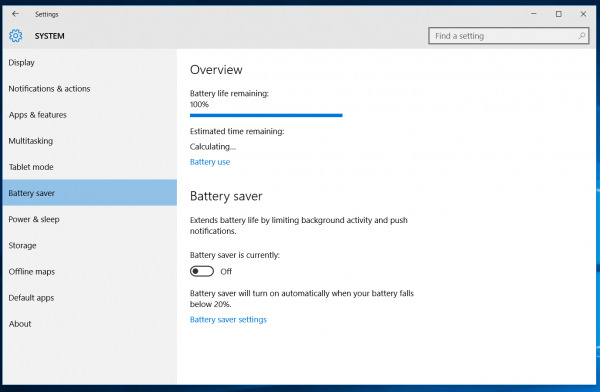
• Battery Saver – more useful for those on tablets or convertibles, Windows 10 finally gets an option to descend into a lower power, low functionality mode when in a power pinch.
• Xbox Streaming – if you have a Windows 10 PC and an Xbox One, you're in luck. Now you can stream, albeit locally, your Xbox games to your PC. Simply enable the game streaming feature from your console and you're good to go.
10. Explore!
Seriously, do some snooping around on your own. Windows 10 is brimming with options and settings that would fill pages of manuals. That's both good and bad. Good because you at least have some amount of freedom, but bad because it can be quite daunting. Since Windows 10 is quite new and fresh, it might be the perfect chance to embark on an adventure. With Search as your friend, you will almost never get lost.
Wrap-up
Windows 10 is both exciting though at times and for some also frustrating. It has a lot of new things to offer and new ways of doing things. All the bells and whistles available can make for a good adventure (or horror) story. Hopefully this list can get help kickstart your journey. Good luck!