How To Build A Fart Detector Using Raspberry Pi

We may receive a commission on purchases made from links.
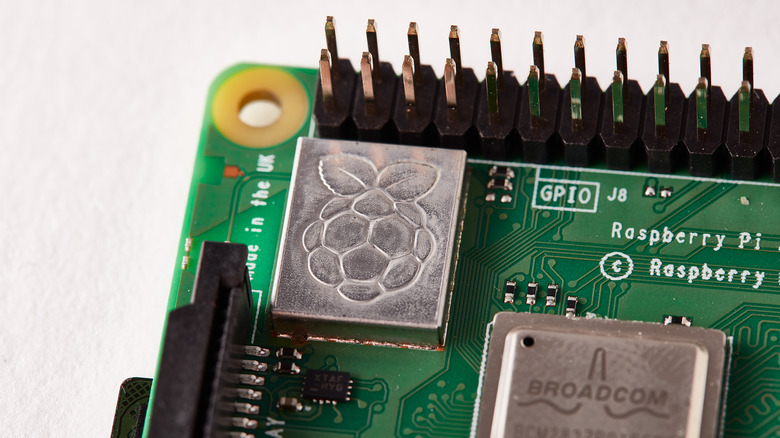
Raspberry Pi is a tiny single-board computer (SBC) that easily offers the processing power of a crude yet full-fledged computer. You can install various basic tools and games on a Raspberry Pi module or use it as a dedicated device to control other smart appliances in your vicinity. Raspberry Pi is also an excellent choice for building practical learning or research equipment, such as a weather monitor, or something as amusing and peculiar as a fart detector.
Farting is a fairly natural and healthy process, not just for the one letting farts out but also for those around them. However, at the same time, farts can be extremely displeasing and terrorizing, especially if you have a chronic farter like a family member or a pet. If you are fed up with the one that constantly loads up the air around you, you might benefit from some warning in advance. In fact, you can build a mechanical nose — a fart detector – using Raspberry Pi.
The apparatus is simple to build but will require some experience or background in coding or the patience to watch and learn. It may be in your favor to seek help from a friend or colleague with previous hands-on experience with Raspberry Pi devices, but it's not absolutely necessary. To start building a fart detector using a Raspberry Pi, you must first gather a few things.
Things you need to build a fart detector using Raspberry Pi
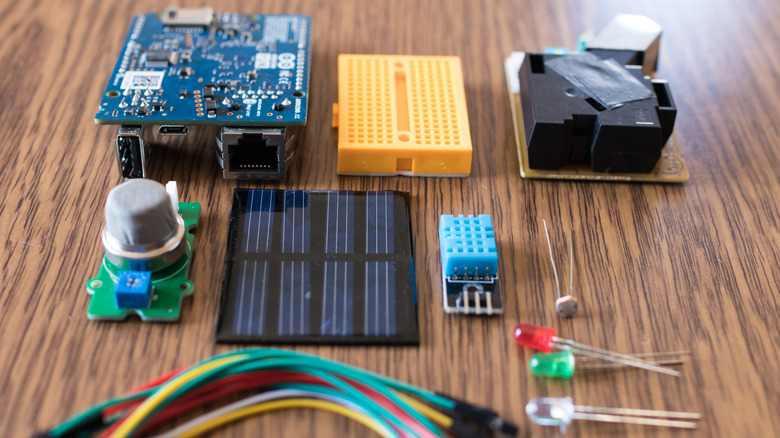
To build your automatic sniffer machine, you will need the following items:
-
A Raspberry Pi module
-
At least six male-to-male jumper wires and eight male-to-female jumper cables
-
Resistors, including two 47k ohm, one 22k ohm, one 10k ohm, and one 4.7k ohm. Instead of hunting for resistors of different resistance values, it might be worth getting a set of resistors with various values.
-
An air quality sensor. We will specifically recommend a TGS260X (where X denotes a single-digit number) for its hydrogen-detecting abilities.
-
An enclosure for the circuit board (optional)
The air quality sensor will be our primary weapon in identifying farts lingering in the air. It works by identifying the presence of specific gases. Although hydrogen sulfide is what makes us clamp our noses, our fart detector uses a special air quality sensor that can identify the presence of hydrogen.
How does a fart detector with Raspberry Pi work?
Hydrogen is one of the many gases that together compose farts. Even though it is the most abundant element in the entire universe as a compound, hydrogen is rarely found in the air in its elemental form. In contrast, the same volume of farts has a much larger percentage of hydrogen. This makes using a hydrogen detector a more reliable choice. Notably, nitrogen also makes up a portion of our farts, but nitrogen is already the most copious gas in our atmosphere, and thus, detecting it would be challenging.
Additionally, since our sensor captures an analog signal, we would need a signal converter. We would ideally need an analog-to-digital converter (ADC) for this specific case. The ADC would help record different values of hydrogen in the air at different instances, which could then be stored in a database. However, in this case, we only need to measure the presence of hydrogen in the air without knowing the actual value. This can be achieved easily using those resistors we asked you to acquire earlier.
The air quality sensor works by letting a current through it. Large volumes of hydrogen around the sensor reduce its resistance (i.e., increase its conductance). This results in a larger potential across the sensor. This change in resistance across the sensor can be measured simply by attaching different resistors to the circuit in a parallel combination. The resistors can be selectively turned on or off in various combinations, which can be controlled using the software program on the Raspberry Pi. This will allow the resistance values to change across the circuit to detect voltage fluctuations across the sensor.
You can read about the theory behind this application and the manipulation of different resistors across the circuit.
How to make a fart detector using Raspberry Pi

To set up the hardware once you have all the required items ready, you will need to assemble the circuit as demonstrated in the wiring diagram. Once you finish arranging the hardware, you need to start setting up the software.
1. Based on whether your Raspberry Pi module comes pre-installed with an operating system, you may need to install Raspberry Pi OS – or any other Linux distro — or update the OS. Once you install the OS, you will need to run the following command in a command line window to activate the sound output through a headphone or speaker:
sudo amixer cset numid=3 1
2. Then, you need to download a sound file for the alarm. You can either download a free stock sound of your choice or get it directly using the terminal. We are using a free sound of a warning alarm in a public place. It can be downloaded using the following code:
wget https://mixkit.co/free-sound-effects/download/991/?filename=mixkit-warning-alarm-buzzer-991.wav --no-check-certificate
3. You can get started by developing a dedicated program to vary resistance values. Thankfully, you will not have to write the entire code from scratch; you can simply copy and paste it from an official Raspberry Pi tutorial.
4. After setting up the code, you will need to calibrate the Raspberry Pi fart detector.
5. In addition, you need to set up monitoring using the sensor along with programming when the alarm goes off. To ensure you don't have to take the pain of manually switching the program on and off, you must also set up continuous monitoring with the sensor.
6. Lastly, you could configure the duration of the alarm so that it continues to play repeatedly until the fart disappears.
With this terrific device set up, go and plant it in the family's favorite place to hang out together. Don't forget to set up a secret security camera to record other people's reactions when the alarm suddenly goes off. Happy farting!